
We’ve seen a myriad of customers across many different business verticals looking to better manage their digital workspace with convenient access to the Microsoft Office applications their users need to be productive. Okta is a valued partner and an industry leader in the Identity Provider space and can work in tandem with VMware Workspace ONE® Access™ to provide a truly comprehensive Unified Catalog to the end user. As well as providing a Unified Catalog we can also leverage the conditional access capabilities of Workspace ONE Access to secure corporate resources as seen fit. In this post we’ll address the steps to integrate Workspace ONE Access, Office 365, and Okta.
We will start by creating an Office 365 Developer tenant and with that we will get access to Azure Active Directory. We will then link the Azure Active Directory to our existing on-premises Active Directory. Afterward, we will leverage Okta as an identity provider for Office 365 and then federate with Okta to Workspace ONE Access to aggregate our unified catalog and provide conditional access to the applications imported from Okta.
Part 1: Signing up for Microsoft 365 Account
Prerequisite: Access to your domain vendor account (ex: GoDaddy).
- Go to Join the Microsoft 365 Developer Program and sign in with your VMware account.
- Say you’re using applications from internal use.
- Choose which applications you’re interested in.
- When you’re on the dashboard screen click “Go to Subscription.”
- You will be prompted to log in with your new admin account that you created and enable 2FA. This can be later disabled for testing reasons.
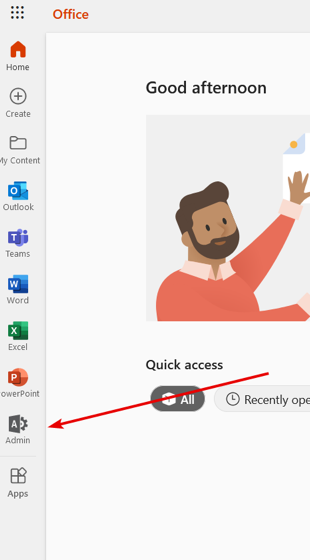
- In the Office portal go to Admin.
- Go to … Show all > Settings > Domains.
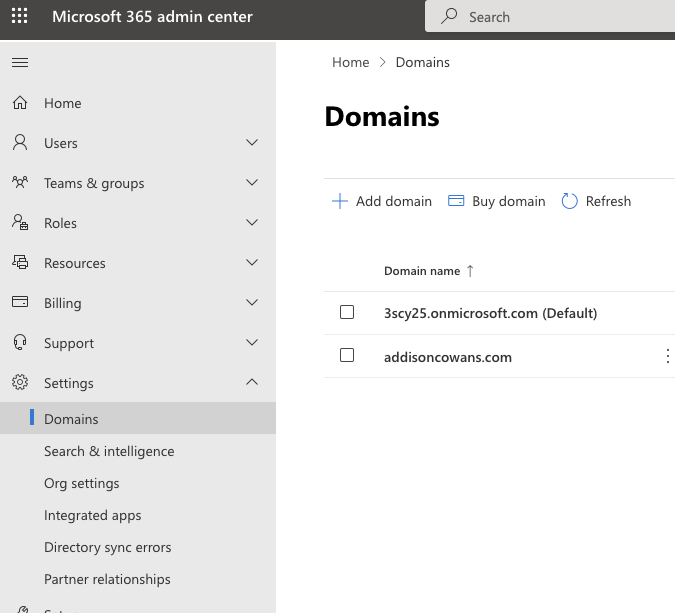
- Click “Add domain.”
- Type in your domain.
- Click “Use this domain”, then “Continue.”
- Click “Add DNS records” and finish adding your domain.
Part 2: Setting Up Microsoft Azure AD with Traditional AD
Prerequisite: Traditional AD and domain joined 2016+ Win 10 Server with NO other Azure ADconnectors running on it.
- From within the newly provisioned server navigate to the same page.
- Click “Azure Active Directory” at the bottom left of the navigation or go to aad.portal.azure.com.
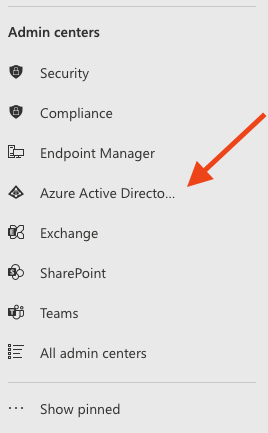
- Once in the Azure Active Directory admin center, click “Azure Active Directory.”
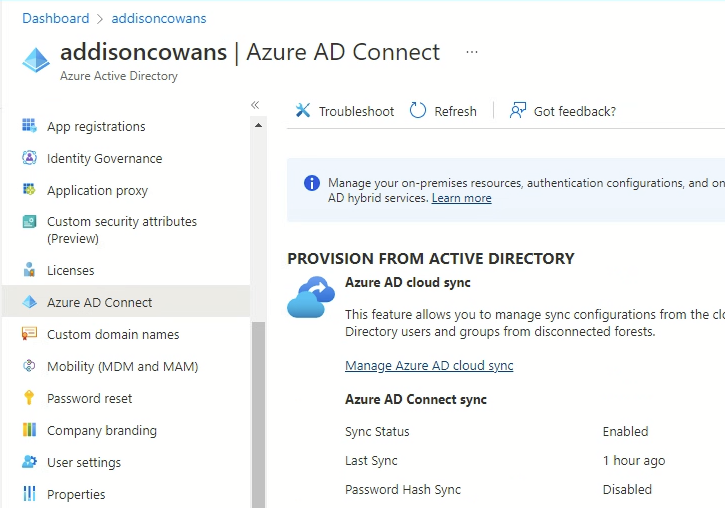
- Scroll down the menu to the left and click “Azure AD Connect.”
- Click “Manage Azure AD cloud sync”, then download the agent.

- Run the agent.
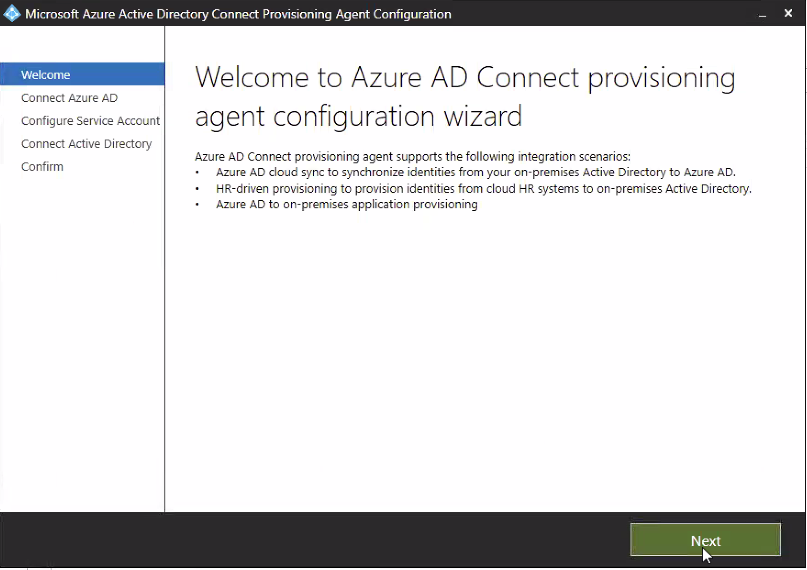
- Click next.
- NOTE: If an Internet Explorer Trusted sites pop up appears, click add on the sites.
- On the Configure Service Account page, select “Create gMSA” and enter the credentials for a domain administrator account.
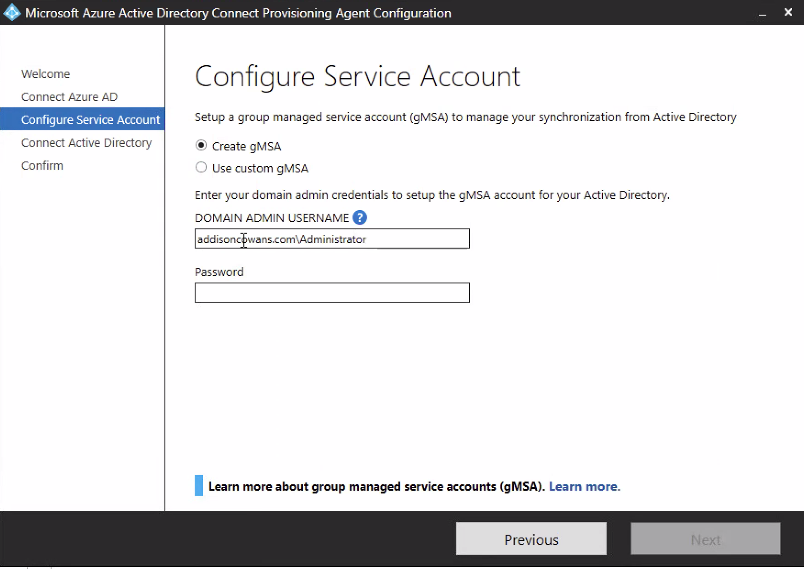
- Click “Confirm” on Agent configuration.
- After installation return to the Azure AD admin center.
- Click on “Azure AD Connect.”
- Click “Manage Azure AD cloud sync.”
- Go to “Review all agents” to see if your connector is there. If not, restart VM.
- Go back by clicking on “Azure AD Connect cloud Sync” at the top of the page. Click “New configuration”, then create.
- Make sure “Enable password hash sync” is checked.
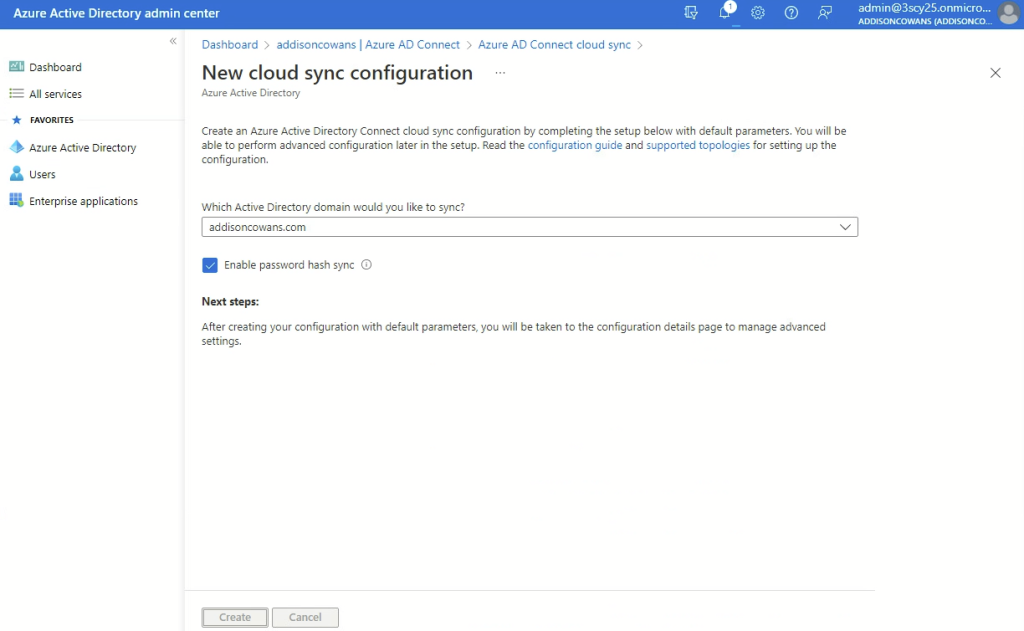
- Click “Create.”
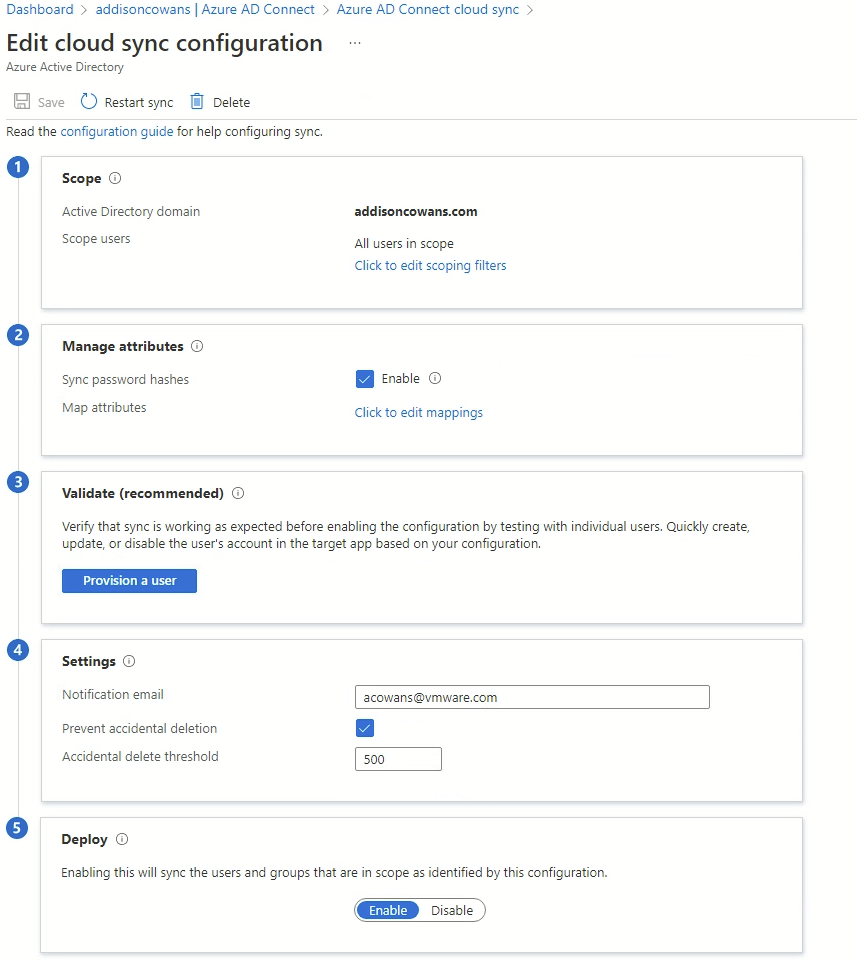
- Your parameters should look like the screenshot above.
Part 3: Creating a service account in Microsoft 365 for Okta
- Go to the Microsoft 365 Admin console.
- In the navigation pane go to Users > Active Users > Click “Add a user.”
- Fill in the required text fields.
- In the Product licenses section, check the box next to “Microsoft 365 E5 Developer (Without Windows and Audio Conferencing).”
- In Optional settings assign the user as a “Global Administrator.”
- Your Finish section should look like the picture below.
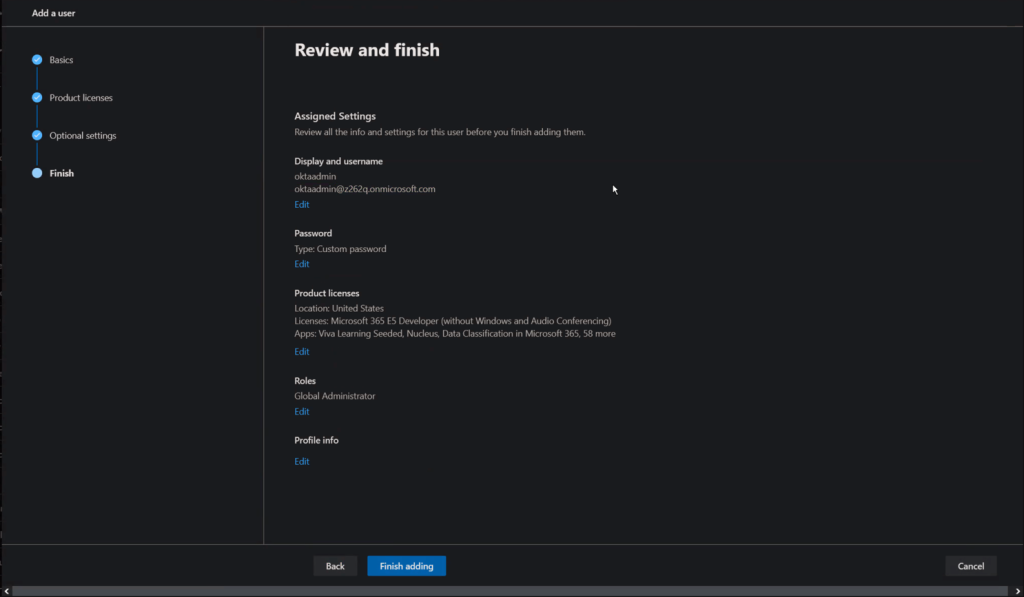
- Click “Finish adding.”
Part 4: Configuring Microsoft 365 in Okta
Prerequisite: Okta tenant with deployed Okta connector.
- After logging into Okta, go to Application > Applications > Browse App Catalog.

- Click on “Microsoft Office 365”, then click “Add Integration.”
- Enter the tenant’s name of your Office/Azure AD account under “Microsoft Tenant Name” (e.g., this will be the random string before onmicrosoft.com, such as y876z).
- Enter your domain name next to “Your Office 365 company domain.”
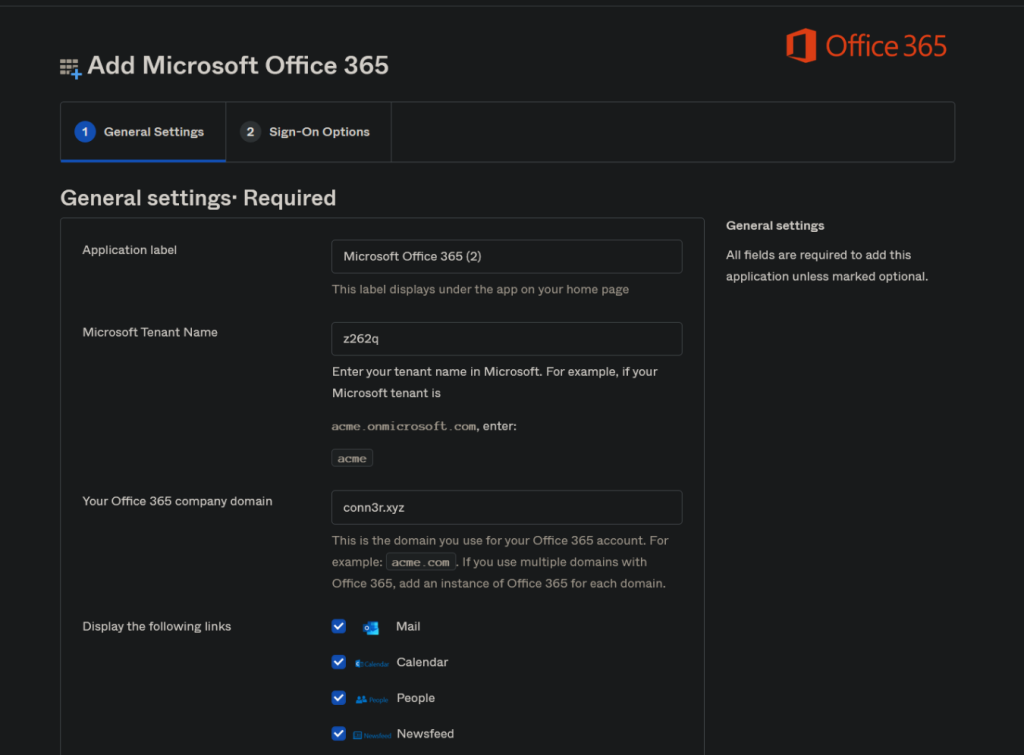
- Scroll to the bottom and enable “Automatically log in when user lands on login page.”
- Click “Next.”
- Click “WS-Federation” under Sign-on Methods and enable “Let Okta configure WS-Federation automatically for me.”
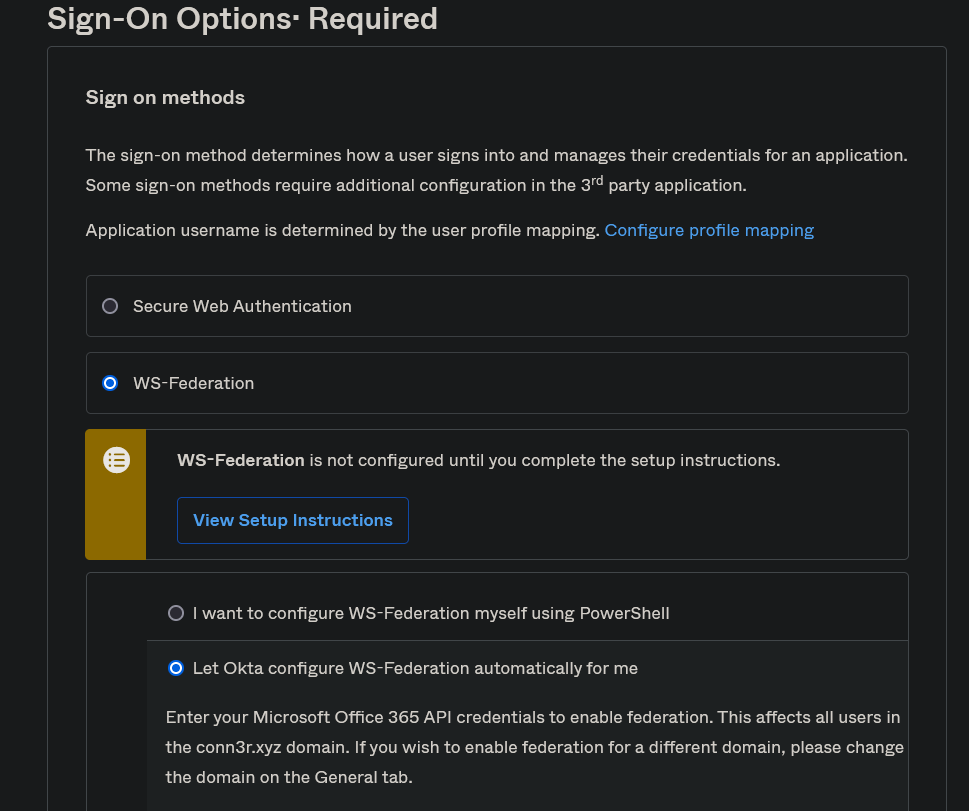
- Enter your Okta Service account credentials that were created in Part 3.

- Enable “Allow administrator to consent for Advanced API access” and click the “Authenticate with Microsoft Office 365” button to log in as an administrator and enable that integration.
- Click “Done.”
- Click on “Microsoft Office 365” in the Applications menu.
- Go to Provisioning.
- Under integration, click Enable “API Integration” if it is not already enabled.
- Enter your Okta service account credentials.
- Note: When you enter the credentials, if you get an error message saying you must enable the integration in Microsoft Graph, look for a button that says, “Authenticate with Microsoft Office 365” and use that to log in with the service account instead.

- Click “Assignments.”
- Click Assign > Assign to People.
- Choose a user to assign Office applications to.
- Under licenses (of which there are many) click enable next to “Microsoft 365 E5 Developer (Without Windows and Audio Conferencing)” this will include most of the Office 365 applications.
- Under Roles click “User.”
- Click “Save and Go Back.”
Part 5: Connecting Okta and Workspace ONE Access
(Add Workspace ONE Access as IdP in Okta, add routing rules, get API key)
- In the Okta console, go to Security > Identity Providers > Add identity provider.
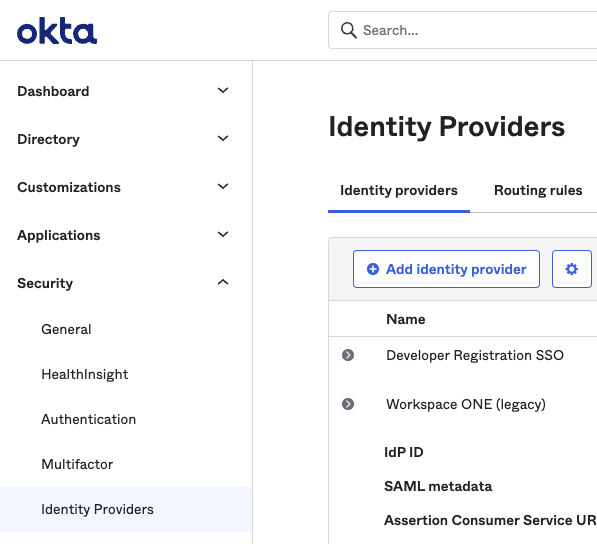
- Choose “SAML 2.0 IdP”, then click “Next.”
- Pause here and login to your Access console.
- Go to Catalog > Settings > SAML Metadata.
- Click “Identity Provider (IdP) metadata” hyperlink.
- Copy the following values: entityID & SingleSignOnService.
- Go back to the Access console and click “Download.”
- Return to the Okta console.
- Place your entityID under “IdP Issuer URI” and SingleSignOnService under “IdP Single Sign-On URL” and “Destination.”
- Before you can upload your certificate, the file extension needs to be changed from “.cer” to “. PEM” or “. DER”. Once you’re done, upload the certificate.
- The rest of your settings should look like the screenshots below.
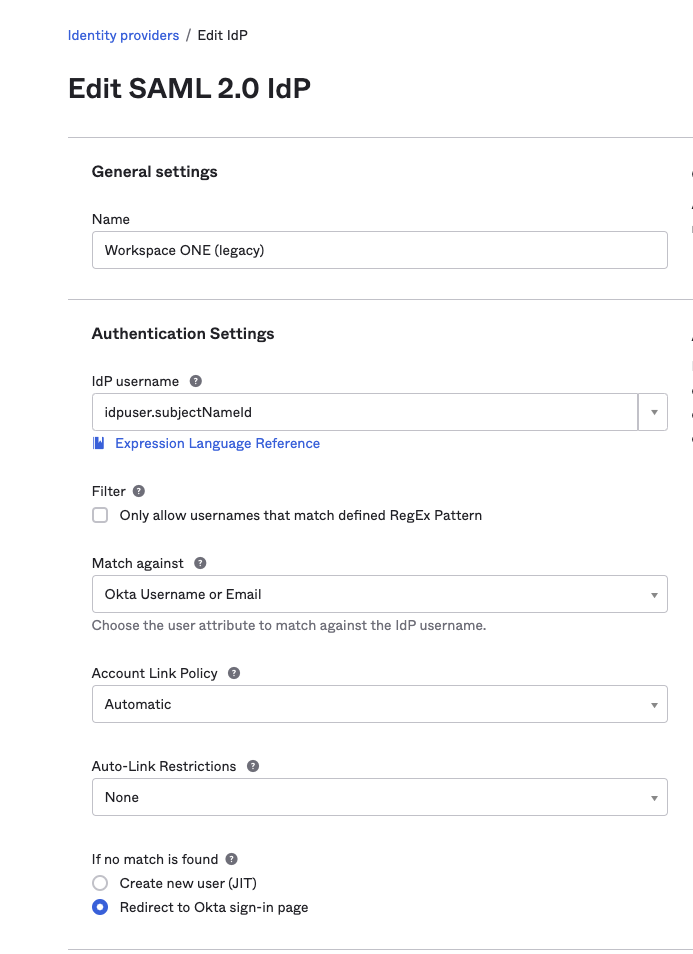
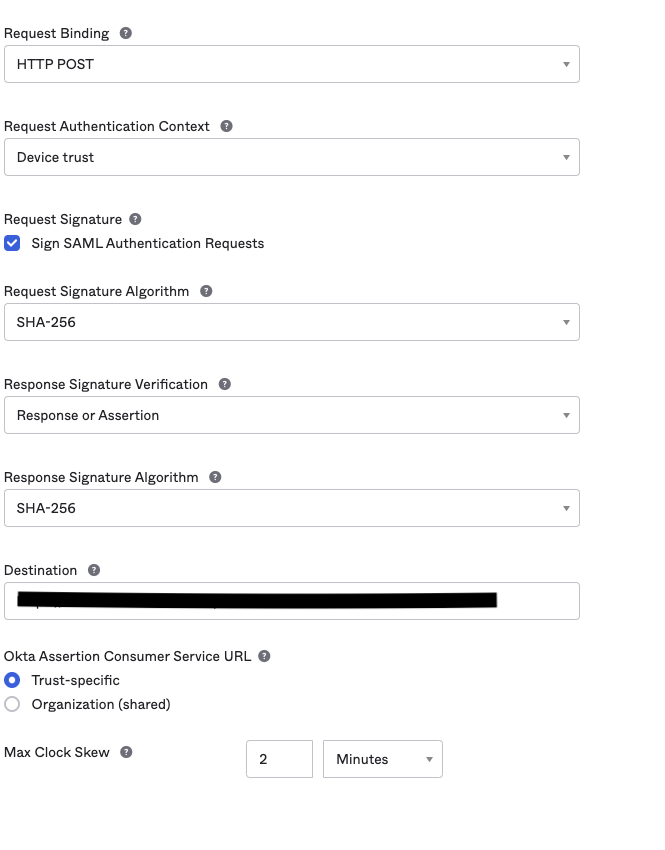
- Click “Finish.”
- Go to Security > API > Tokens > Create Token.
- Enter name, then click “Create Token.”
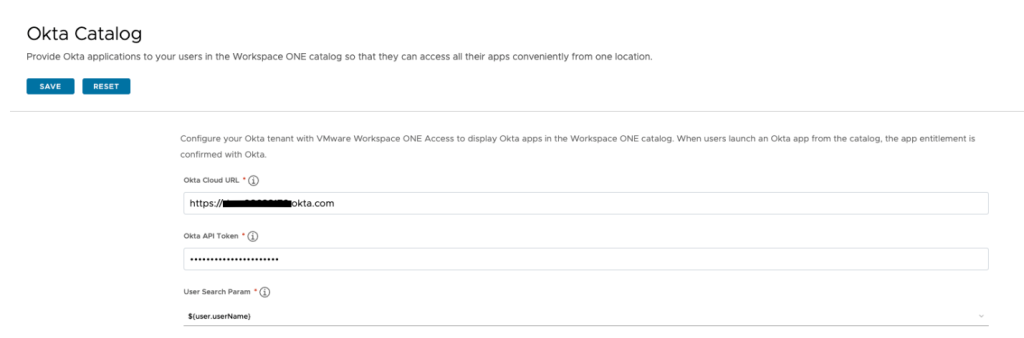
- In your Workspace ONE Access console go to Identity & Access Management > Setup > Okta.
- Enter your information, then click “Save.”
Part 6: Testing
- Go to your Workspace ONE Access console. (Make sure you choose the right domain.)
- Login as a regular user.
- You should now see all the Microsoft 365 applications in the console.
Need Expert Assistance?
Contact your VMware sales representative to learn how VMware Professional Services can help you with your workforce transformation initiatives.
References:
- Join the Microsoft 365 Developer Program
- https://docs.rackspace.com/support/how-to/add-a-domain-in-office-365
- https://learn.microsoft.com/en-us/azure/active-directory/cloud-sync/tutorial-single-forest
- https://help.okta.com/oie/en-us/Content/Topics/Apps/Office365-Deployment/configure-sso.htm#Configur2
- https://learn.microsoft.com/en-us/azure/active-directory/hybrid/how-to-connect-pta-quick-start
- Disabling 2FA: https://answers.microsoft.com/en-us/msoffice/forum/all/turn-off-2-factor-authentication/638899e0-185b-4942-98ee-63773a275ee5 & https://theitbros.com/enable-disable-mfa-in-azure-active-directory/