In the previous post, I explained how vRealize Operations with vRealize Orchestrator can automate alert notifications via the REST Notification plugin to enable a self-healing datacenter. I also introduced the Webhook Shims as the solution that provides the underlying capability. In this post, I will walk you through installing the Webhook Shims in your environment and setting up a simple use case to test things out.
A Basic Use Case for Self-Healing
For example, you probably know that vRealize Operations can monitor services on a supported OS through Endpoint Operations. If that service becomes unavailable, vRealize Operations can alert you. But wouldn’t it be nice if vRealize Operations attempted to restart the service first? Why bother an administrator for such a simple task? If it still doesn’t respond after an automated restart attempt, then you may want a human to take a look.
Let’s begin with installation of the Webhook Shims. For this you will need an environment capable of running Python 2.7 (the language used to build the shim). If you already have a Python 2.7 environment with virtualenv installed, you can skip over the next section.
Also, there are some modules in the Webhook Shim that don’t play well with Windows, so I strongly recommend a Linux OS here.
Installing Prerequisites on Photon OS
To keep things simple, I’ll use a virtual machine created with the Photon OS OVA (as it already comes pre-loaded with Python 2.7). Once you have the Photon OVA deployed, you can open an SSH session and log in with root and the password changeme (which will prompt you for a password change).
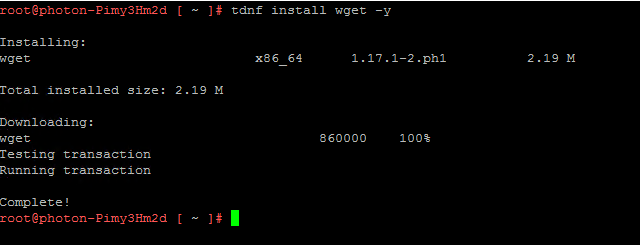
The first thing we need to do is install wget. Enter the command
tdnf install wget -y
Now we can use wget for the next step, installing pip and virtualenv for Python. First, grab the pip installation script with wget
wget https://bootstrap.pypa.io/get-pip.py
Now you can install pip using the script we just downloaded. What is pip? It is a package manager for Python, sort of like how yum is for Linux (or in the case of our little Photon OS, tdnf).
python get-pip.py
Finally, you are ready to install virtualenv using pip. By the way, virtualenv is not a requirement, it just is a good practice to avoid contaminating your nice clean Python install with modules that are unique to a given environment or may require different module versions. Anyway, install virtualenv
pip install virtualenv
Congratulations! Prerequisites are complete and we can get busy installing the shim.
Installing the Webhook Shims
Now that we have our environment ready, let’s begin the Webhook Shims install. For this, we’ll use git to pull the repository down, so we will need to install that first.
tdnf install git -y
Great. Now we can clone the Webhook Shims repository from github.
git clone https://github.com/vmw-loginsight/webhook-shims.git
Using a git repository allows you to update the Webhook Shims easily whenever a change is made (i.e. fixes or enhancements) to the main branch.
At this point, we can create the virtual environment for Python, using virtualenv. As the readme on the Webhook Shims repository github page suggests, we will use venv-webhookshims. We will create this environment in the repository directory.
cd webhook-shims
virtualenv venv-webhookshims
Now you will see why we are using a Python virtual environment. The Webhook Shims has some modules that are required that are not included in the default Python library. We will need to install those into the virtual environment we just created. First, we will activate the virtual environment and then install the prerequisites. This is easier than you might think, because the repository contains a file with a list of the prerequisites so we just have to reference that file with pip.
First, activate the virtual environment.
source venv-webhookshims/bin/activate
Notice the prompt changes to let us know we are in a virtual environment. The OS will function as it normally does, the only difference is that the Python library will include any modules we add while in the virtual environment. By the way, to exit the virtual environment, simply enter deactivate at any time.
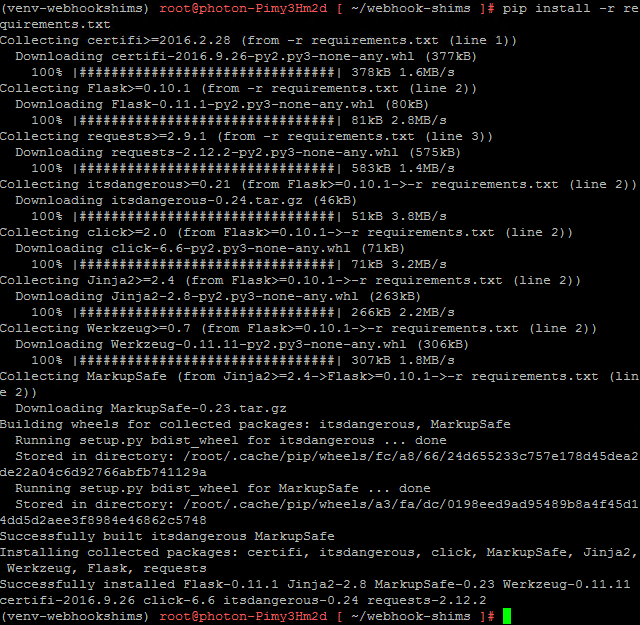
Installing the prerequisites, as I mentioned, is easy. There is a file in the repo named requirements.txt that contains all the modules needed to run the Webhook Shims. Using pip we can simply reference that file to install them.
pip install -r requirements.txt
Now that was easy! At this point you have installed the shims and are ready for the next step – configuring and running the Webhook Shims. I will cover that in the next blog post.


