By Bernie Watson, Systems Engineer, End-User Computing, VMware
This post shows how to package the different versions of Microsoft Internet Explorer using  VMware ThinApp, and how to enable the ThinDirect feature.
Before following these instructions, you need a clean capture virtual machine (VM) with Windows 7 SP1, the latest version of ThinApp installed on the capture machine, and a clean snapshot of the capture (VM).
You also need to establish a network file share to store your folders of captured applications. This file share must be accessible from the capture machine. (Storing the captured application folders on the capture VM would result in the loss of all materials when the VM is reverted back to a clean snapshot state for the next application capture.)
To better understand what is meant by a clean capture VM, refer to the blog post What do you mean by “Clean PC”?.
Packaging Internet Explorer with ThinApp
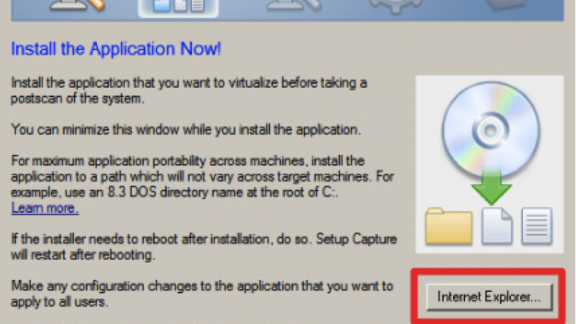
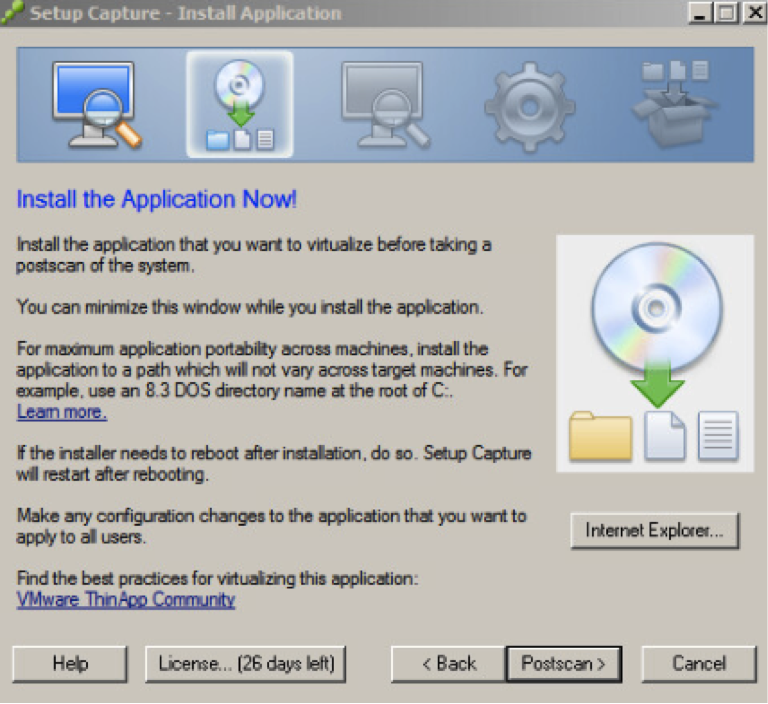
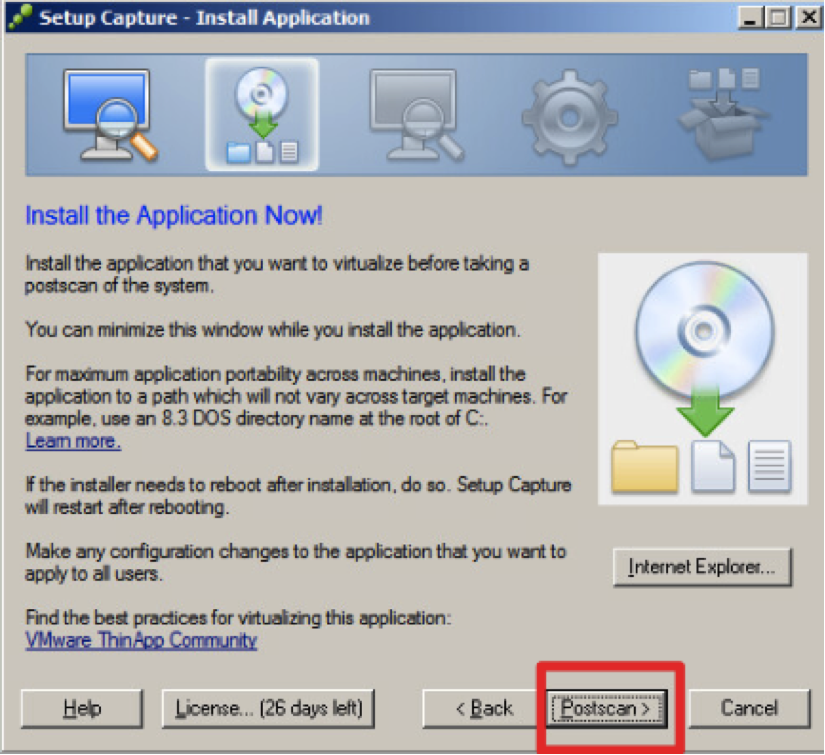
To capture Internet Explorer, you must upgrade from one version to another, with the exception of Internet Explorer 6, which can be directly captured with the built-in ThinApp Setup Capture tool after the prescan. For information on capturing Internet Explorer 6, see the VMware knowledge base article Virtualizing Internet Explorer 6 with ThinApp 4.6 and later. The following screenshot shows the button for capturing Internet Explorer 6 after the prescan.

You click the Internet Explorer button to capture only Internet Explorer 6; you will not click this button to capture other versions of Internet Explorer. Review the required steps to capture the desired version of Internet Explorer from the VMware knowledge base article Support Policy for Internet Explorer virtualized with VMware ThinApp.
In this exercise, you will package Internet Explorer 10 on a Windows 7 SP1 virtual machine by upgrading Internet Explorer 8 to Internet Explorer 10.
- Download the Internet Explorer 10 installer for Windows 7, 32-bit, or the Internet Explorer 10 installer for Windows 7, 64-bit, onto the Windows 7 SP1 capture virtual machine.
- Start the ThinApp prescan process.
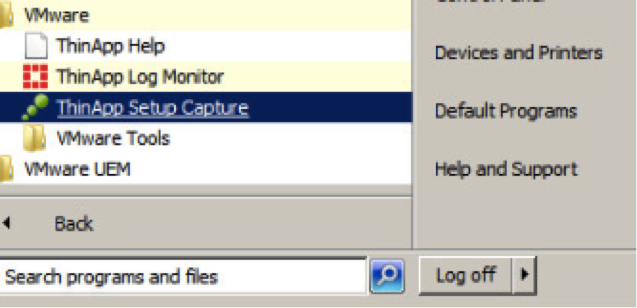
From the capture VM with ThinApp installed, launch the ThinApp Setup Capture process.
Perform the prescan process.
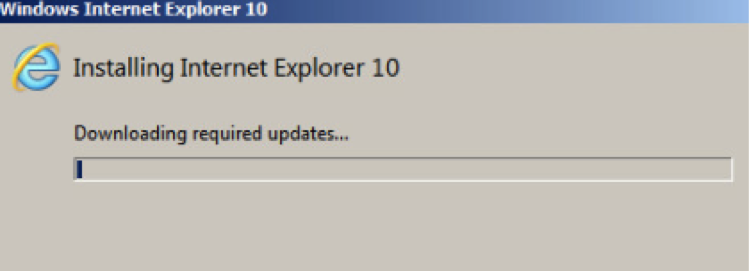
- After the prescan has completed, install Internet Explorer 10 by double-clicking the Internet Explorer 10 EXE file. Because you already have Internet Explorer 8 on the Windows 7 SP1 capture machine, Internet Explorer will be upgraded from Internet Explorer 8 to Internet Explorer 10.

- Reboot the capture virtual machine to complete the upgrade process.
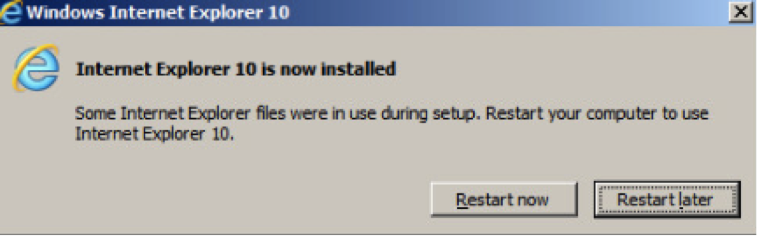
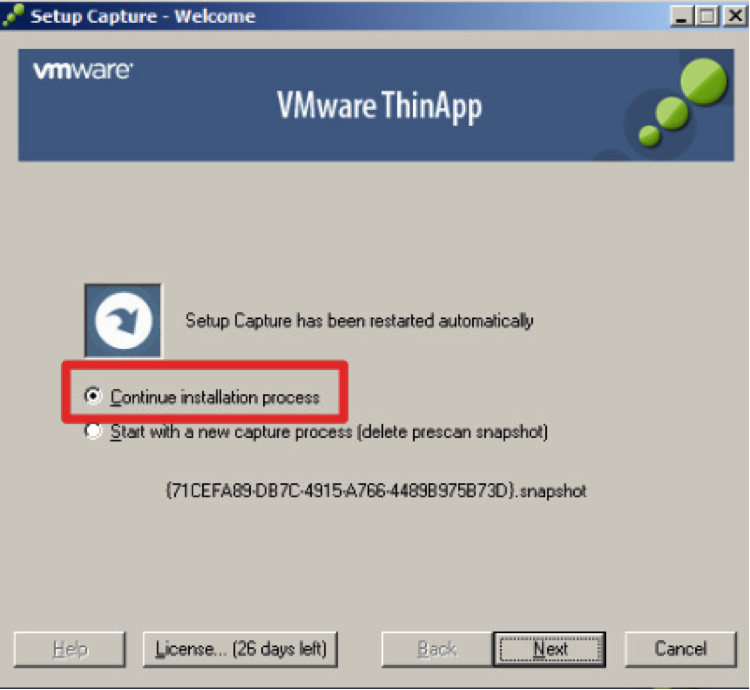
After the capture VM has rebooted, log in. When presented with the ThinApp Setup Capture window, select Continue installation process.
- Open Internet Explorer 10, newly upgraded on the capture machine (on the desktop, in the Start menu, or in the quick-launch tray), perform any configurations desired in your production deployment, and install any additional add-ons. After this is completed, close Internet Explorer 10 and perform the postscan process.
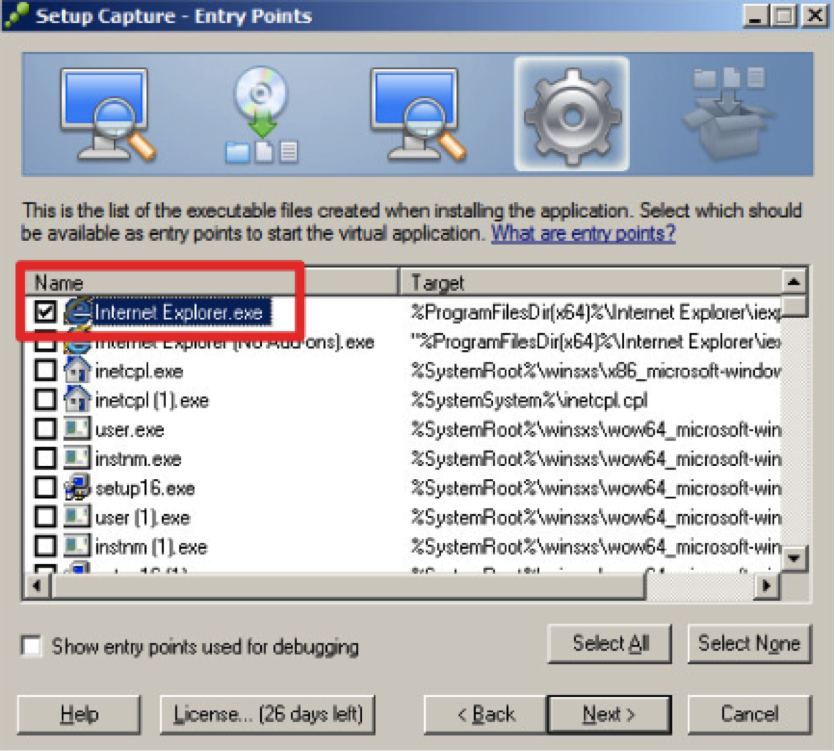
- Select entry points.
Ensure that only the desired entry points are selected. For capturing only Internet Explorer, select the check box next to Internet Explorer.exe. Click Next.
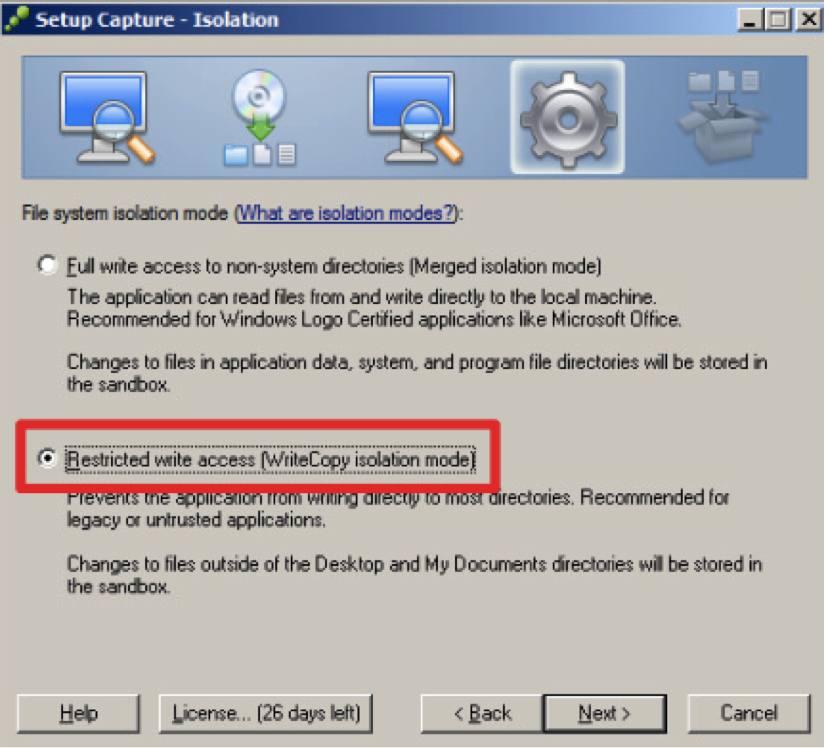
- Choose an isolation mode.
Select the isolation mode Restricted write access (WriteCopy isolation mode). This isolation mode guarantees that any changes made to the ThinApp-packaged Internet Explorer will not be saved to the native Internet Explorer.
To better understand ThinApp isolation modes, read the VMware knowledge base article Understanding the ThinApp sandbox and isolation modes.
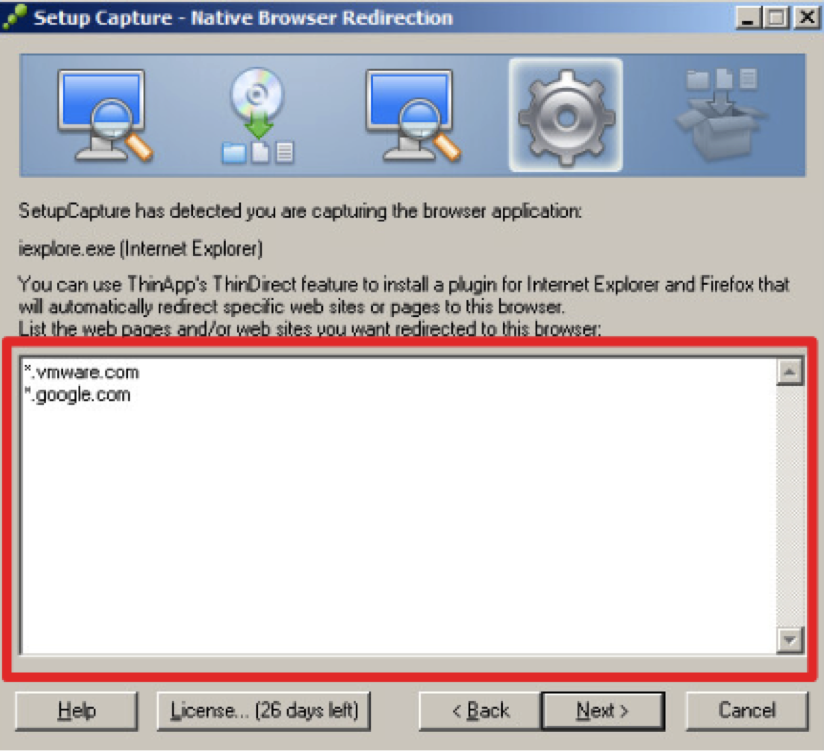
- Enter native browser redirection URLs.
In the Native Browser Redirection window, enter the URLs you want to be redirected from the native Internet Explorer to the ThinApp-packaged Internet Explorer. If further configurations or additions are necessary, the ThinDirect.txt file can be modified later.
To better understand the syntax used within ThinDirect.txt, see the VMware knowledge base article on ThinDirect.txt syntax.
Leaving the Native Browser Redirection box empty will disable the ThinDirect feature.
For this example, enter the URLs in the following screenshot.
- Configure project settings.
In the Project Settings window, enter the name and location of the project being built. (A project is the folder for the captured application. This folder includes all file system and registry entries that result from the installation of the application after the prescan of the clean capture machine.) (Inventory name is the same as project name.) It is best to store your projects on a network share. Storing them on the capture VM would result in the loss of all materials when the VM is reverted back to a clean snapshot state for the next application capture. Click Next to continue.

- Configure package settings.
In the Package Settings window, select the desired package settings. It is a best practice to create both an EXE and an MSI of the captured application. The MSI contains all necessary registrations of ThinDirect components and acts like a natively installed application. The MSI can also be installed in a Mirage App Layer or App Volumes AppStack.

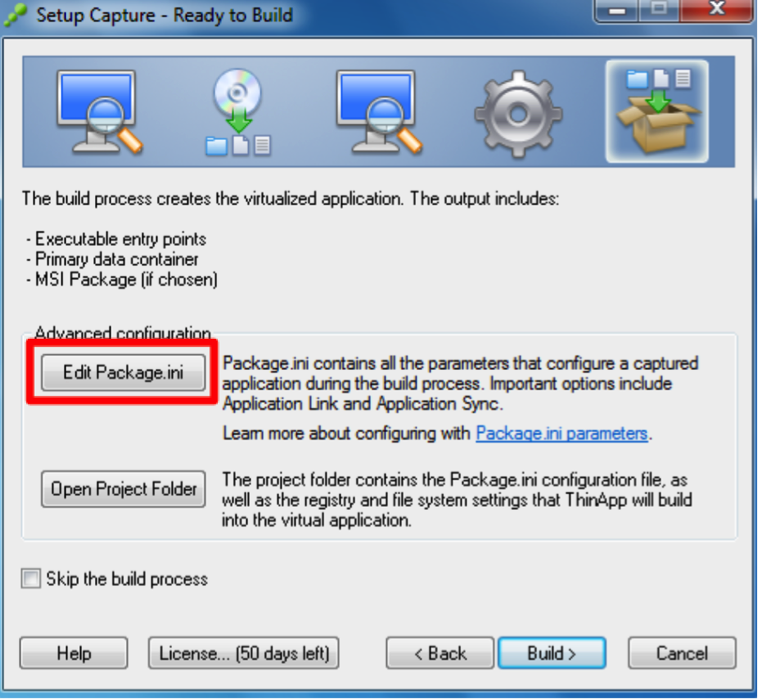
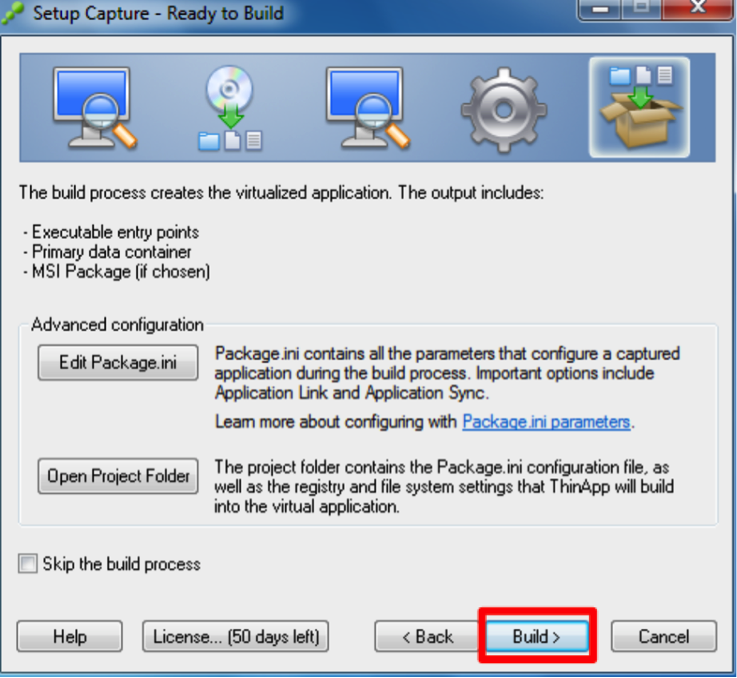
- Modify the project and build the package.
Prior to building the project, you need to edit the Package.ini file. Click Edit Package.ini.
Verify that the Protocols parameter is commented out with a semicolon.
In the following screenshot, you can see that the Protocols parameter in the Package.ini file is commented out to avoid making the packaged browser the default web browser. If the Protocols parameter is not commented out, the specified ThinDirect URLs will bypass the ThinDirect feature and open within the native default browser.
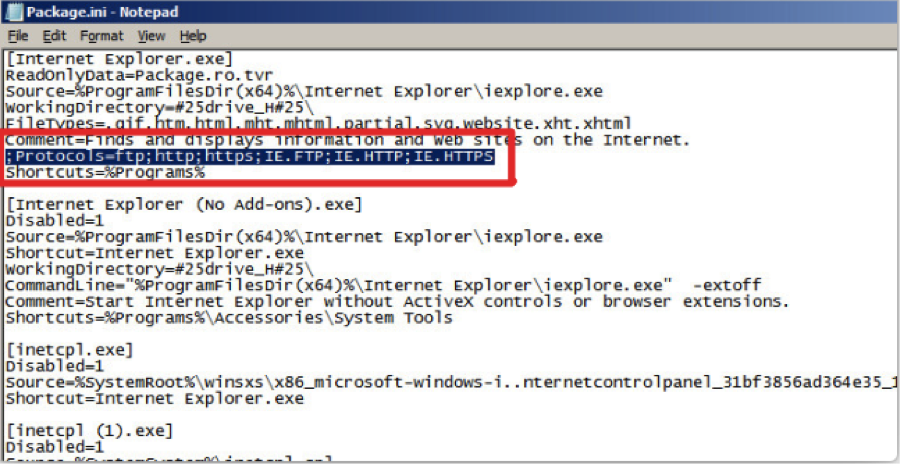
After the Package.ini file has been modified and saved, click Build to build the project.
- Finish the project build.
Ensure the check box is selected to open the project folder after Finish. Then click Finish.
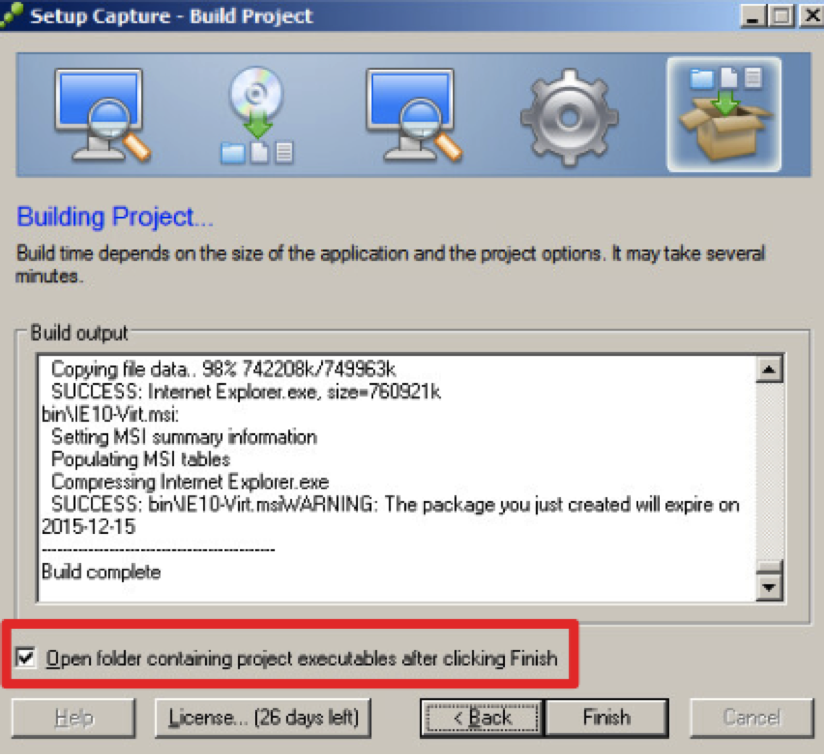
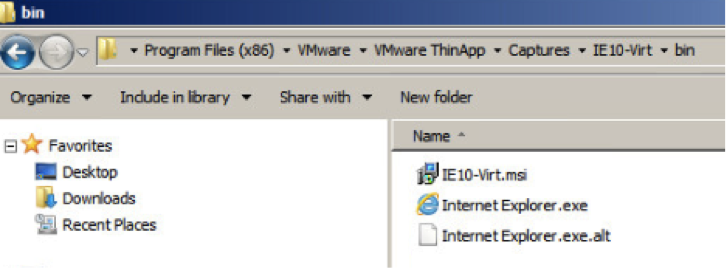
Windows opens the bin folder within the project folder in the project location that you specified during Setup Capture. The bin folder is the folder that contains the application EXE and MSI packages.
Testing ThinDirect on a Windows PC
This section assumes you have already packaged Internet Explorer 10 with ThinApp and specified the URLs to be redirected to Internet Explorer 10.
In this example, you install the ThinApp-packaged Internet Explorer 10 MSI onto a Windows PC. After installation, you will open the native browser and enter one of the configured ThinDirect URLs. Then you will see that the ThinApp-packaged Internet Explorer 10 opens the URL.
Installing the ThinApp-Packaged Internet Explorer 10 MSI
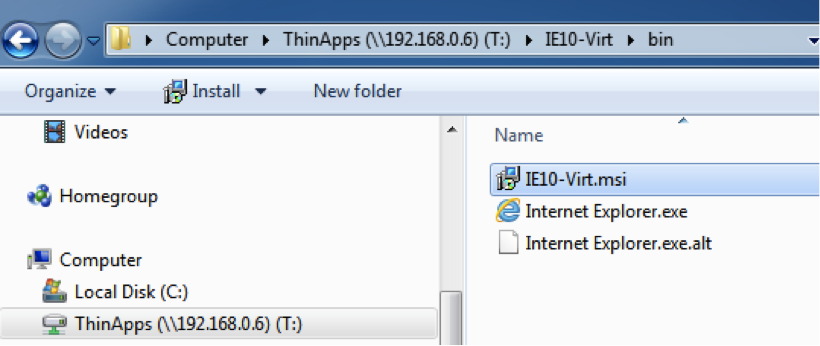
Deploy the ThinApp-packaged Internet Explorer 10 MSI to the Windows PC with the software deployment tool used within your organization, or deploy manually by double-clicking the MSI.
For this example, install the package manually by connecting to the central ThinApp file share. Double-click the IE10-Virt.msi package.
Verifying the Native Browser Version
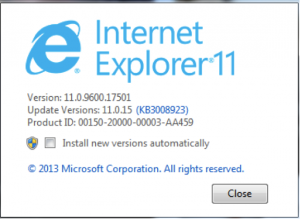
Open the native Internet Explorer, click the Settings (gear) icon, and click About Internet Explorer.

Verify the native browser is a different version from the ThinApp-packaged Internet Explorer 10.
Testing ThinApp ThinDirect
From within the native browser, enter a non-ThinDirect URL. Verify you are still in the same native browser by rechecking the version. Now enter the URL of a configured ThinDirect URL. In this example, enter downloads.vmware.com.
You can see that downloads.vmware.com was redirected to https://my.vmware.com/web/vmware/downloads. However, because you used an asterisk (*.vmware.com) within your configuration of the ThinDirect URLs, it still redirected you to the ThinApp-packaged Internet Explorer 10.

Manual ThinDirect Configuration
This section assumes you have already packaged Internet Explorer 10 with ThinApp using ThinDirect and want to modify the URLs configured for ThinDirect.
Modifying the ThinDirect.txt File After Setup Capture
Navigate to the central ThinApp file share and open the IE10-Virt project folder. Open the Thindirect.txt file in the project folder. Modify the URLs and Save the file. In this example, all vmware, google, and cnn URLs are redirected to the virtual Internet Explorer.
To better understand the syntax used within the ThinDirect.txt file, see the ThinDirect.txt syntax knowledge base article.

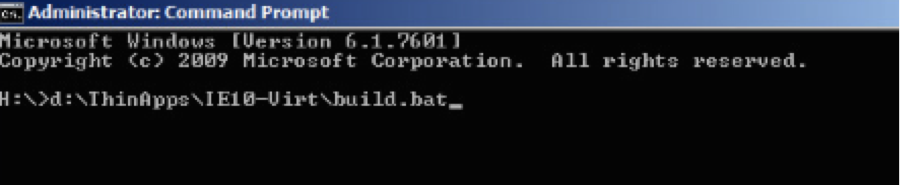
Rebuilding the Package
Open a command prompt, navigate to the directory of the ThinApp-packaged application (IE10-Virt), and run the Build.bat file. This rebuilds the package and updates the MSI file. Redeploy the application MSI file (IE10-Virt.msi) to the target PCs.
Automated ThinDirect Configuration with Group Policies
This section assumes you have already packaged Internet Explorer 10 with ThinApp using ThinDirect and desire to modify the URLs configured for ThinDirect.
An alternative to manually revising the ThinDirect.txt file is to modify the file with centralized group policies. By using group policies, you can change all deployed instances of the virtual browser to use the newly configured ThinDirect.txt file.
For more information, see the knowledge base article on using a Group Policy ADM file to configure the ThinDirect.txt file.
Additional References
Refer to the ThinApp Documentation Web site for the documentation on the latest ThinApp version. In particular, see
- ThinApp User’s Guide
- ThinApp Package.ini Parameters Reference Guide