Test drive vSphere with Operations Management to gain the best performance and efficiency out of your infrastructure and applications
When vRealize Operations Management 6.0 was released, VMware increased the flexibility afforded to administrators by adding the concepts of symptoms, recommendations and actions to the product. As you might expect, symptoms are thresholds or characteristics that define when a problem may have occurred or additional guidance may be needed. Recommendations are a customizable way to define what that additional guidance might be – and actions allow you to automate and carry out that guidance.
Since then, one of the most frequent questions from my customers has been “When will we be able to use vRealize Orchestrator for defining and adding automated remediation and resolution actions?”
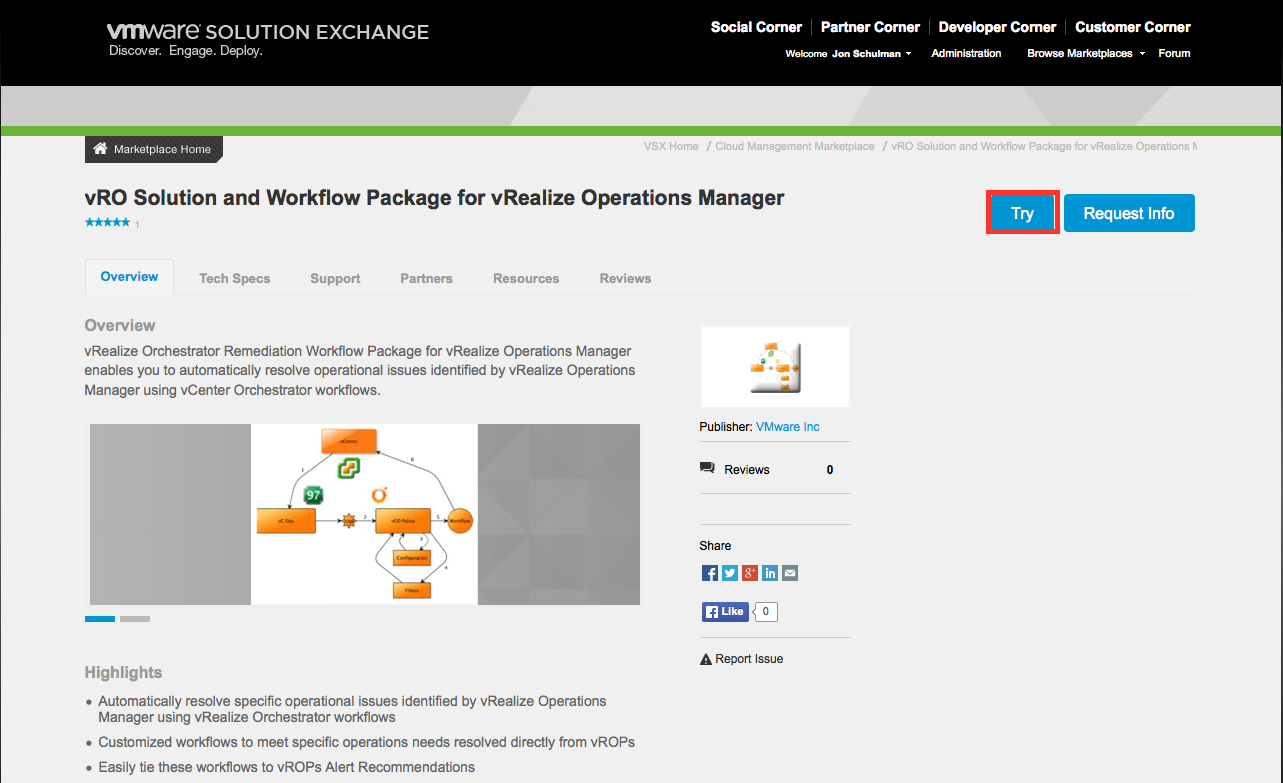
I’m pleased to report that VMware has now enabled that capability via the vRealize Orchestrator Solution and Workflow Package for vRealize Operations. This package is available at the VMware Solution Exchange right now, and the purpose of this post is to guide you through the installation and configuration of it. The package adds many frequently-requested workflows, including:
- Decommission a Host
- Place a Host into Maintenance Mode
- Perform a Power Off or Reboot on a Host
- Manage VM or VM Group Snapshots
- Migrate a VM or VM Group
- Power Off, Power On or Reboot a VM or VM Group
- Reconfigure a VM or VM Group (CPU and Memory settings)
- Upgrade the VMware Tools for a VM or VM Group
Clicking the links above will bring you to the VMware Solution Exchange portal where you can read more about and download the package. Click the blue “Try” button to initiate the download.
Once you have downloaded and extracted the ZIP file, it’s time to start the installation. The first thing you’ll want to do is ensure that both your vRealize Orchestrator and vRealize Operations Manager are registered to the same vCenter instance. This can be done by comparing the data shown in the two screenshots below.


As you can see above, both systems are taking to the same vCenter. We’re ready to begin!
First, you will need to import the Workflow package into your vRealize Orchestrator instance. Start by logging in to the Orchestrator Client.

Ensure that your client view is set to Administer

Then, click on the Import Package button in the upper left of the right-hand panel.

Select the Remediation Actions Package (default filename is com.vmware.vrops.remediationactionsall-v15.package) and select Open

You will be prompted to verify the software signature. Continue by selecting Import

vRealize Orchestrator will then present you with a list of all of the new and changed elements that this package import will affect. No changes here are necessary, simply continue by clicking Import Selected Elements

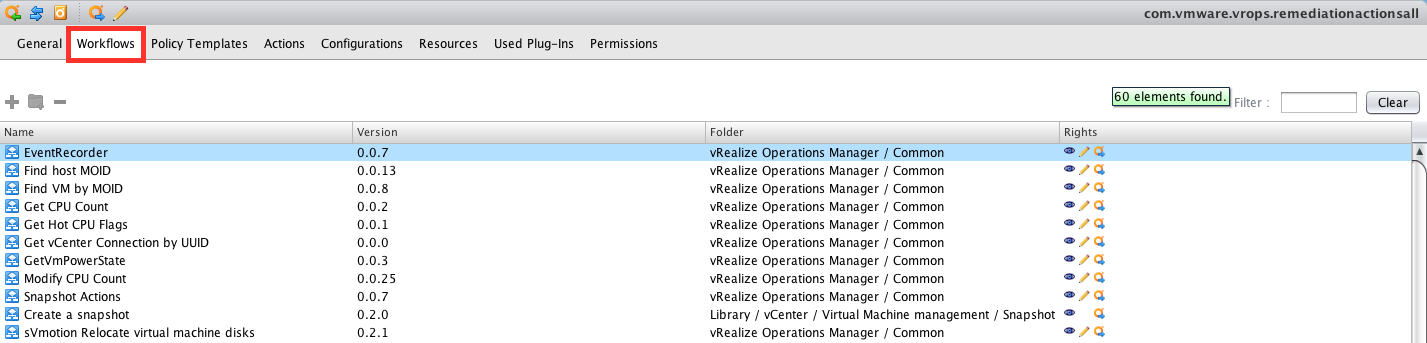
Once the import completes, you will be able to view the new workflows. Click the Workflows tab to verify that there’s a whole bunch of new vRealize Operations Manager goodness present.
You can also verify that the new workflows are present by switching back to the Run view, clicking the Workflows tab and expanding the new vRealize Operations Manager folder. You can see I already have a ton of great workflows by our friends Eric at Cloud Relevant and Sid at Daily Hypervisor in here.

That’s it for the vRealize Orchestrator side of things. Now you will need to switch over to your vRealize Operations Manager portal. Log in as a user with appropriate rights to add/update solutions. An admin user will work nicely.
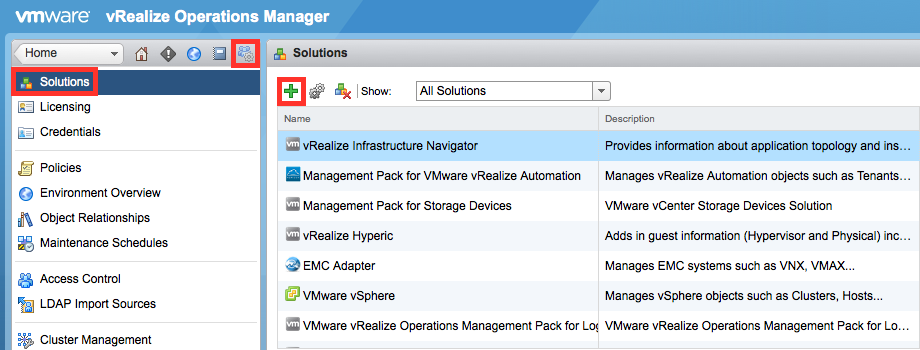
Click on the Administration button, followed by the Solutions section. Then, click the Green + to add a new solution.
Select the solution file using the Browse button and click Upload. Once the upload completes and the PAK file has been verified, click Next to proceed with the installation.

Accept the EULA and click Next again. Wait for the installation to complete, then select Finish

You can now verify that your new solution is installed by locating the vRealize Orchestrator Actions Adapter in the solutions list. Note that you may have to scroll down to find it, if you have several solutions installed. You may also notice that the adapter instance is not yet configured. Let’s tackle that next!

To configure the adapter instance, ensure that the vRealize Orchestrator Actions Adapter is still selected, then click the Gears icon at the top, next to the Green + we clicked a few steps back.
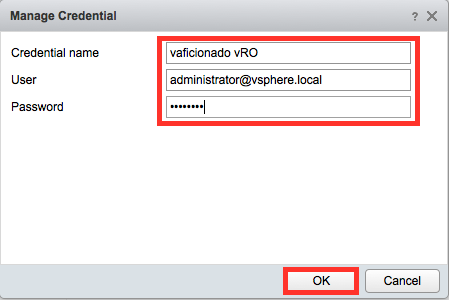
Give your new adapter a name, and enter the IP or hostname of your vRealize Orchestrator instance. Be sure to use the same Orchestrator instance as we verified at the beginning of this process. Click the Green + to add credentials for the instance.

Enter your credentials and click OK
Next, click Test Connection. You may be presented with a certificate warning – click OK if you trust the certificate, and then your test should be successful!


Save your new adapter by clicking Save Settings and finally Close the configuration dialog.
That’s it for the installation! You can verify that the new actions are present by clicking on the Content tab inside vRealize Operations and selecting Actions from the list on the left. If all went well, you should see the 8 new actions present. These can now be combined with symptoms and recommendations to unlock many new possibilities for remediation inside your environment.
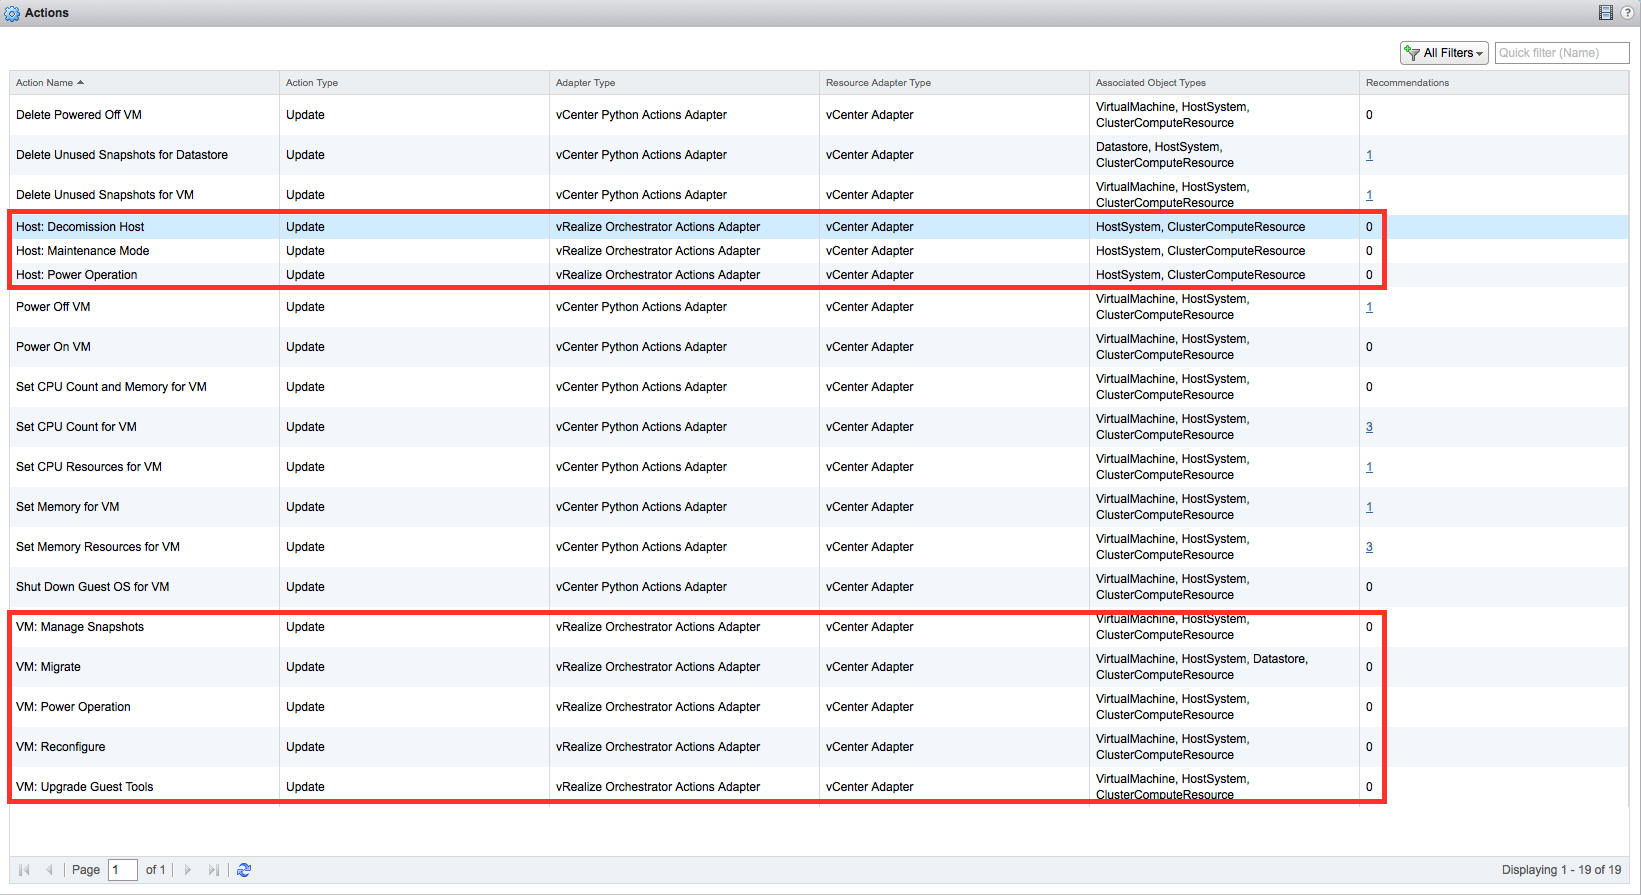
(Click for larger image)
I hope this guide has been useful to you. Please feel free to share your feedback in the comments below.