

With the launch of VMware Cloud Provider Lifecycle Manager 1.1 in May 2021, deployment, upgrade & configuration of VMware products like VCD, Usage Meter, RabbitMQ and vROPS Tenant App have been simplified and automated to a greater extent.
You can now use VMware Cloud Provider Lifecycle Manager to deploy these products either in your lab for testing or in production.
Now isn’t that interesting? If you are still thinking of how, it works and want to know more about it then please refer the VMware Cloud Provider Lifecycle Manager 1.1 documentation, security reference guide and blogpost which gives an overview of VMware Cloud Provider Lifecycle Manager 1.1.
Today, we are happy to announce the release of VMware Cloud Provider Lifecycle Manager 1.2, and in this blog, I am going to share some details about it.
What’s new with this release?
Although the architecture remains the same, the focus was on simplifying the setup of VMware Cloud Provider Lifecycle Manager itself and the access to its functionality.
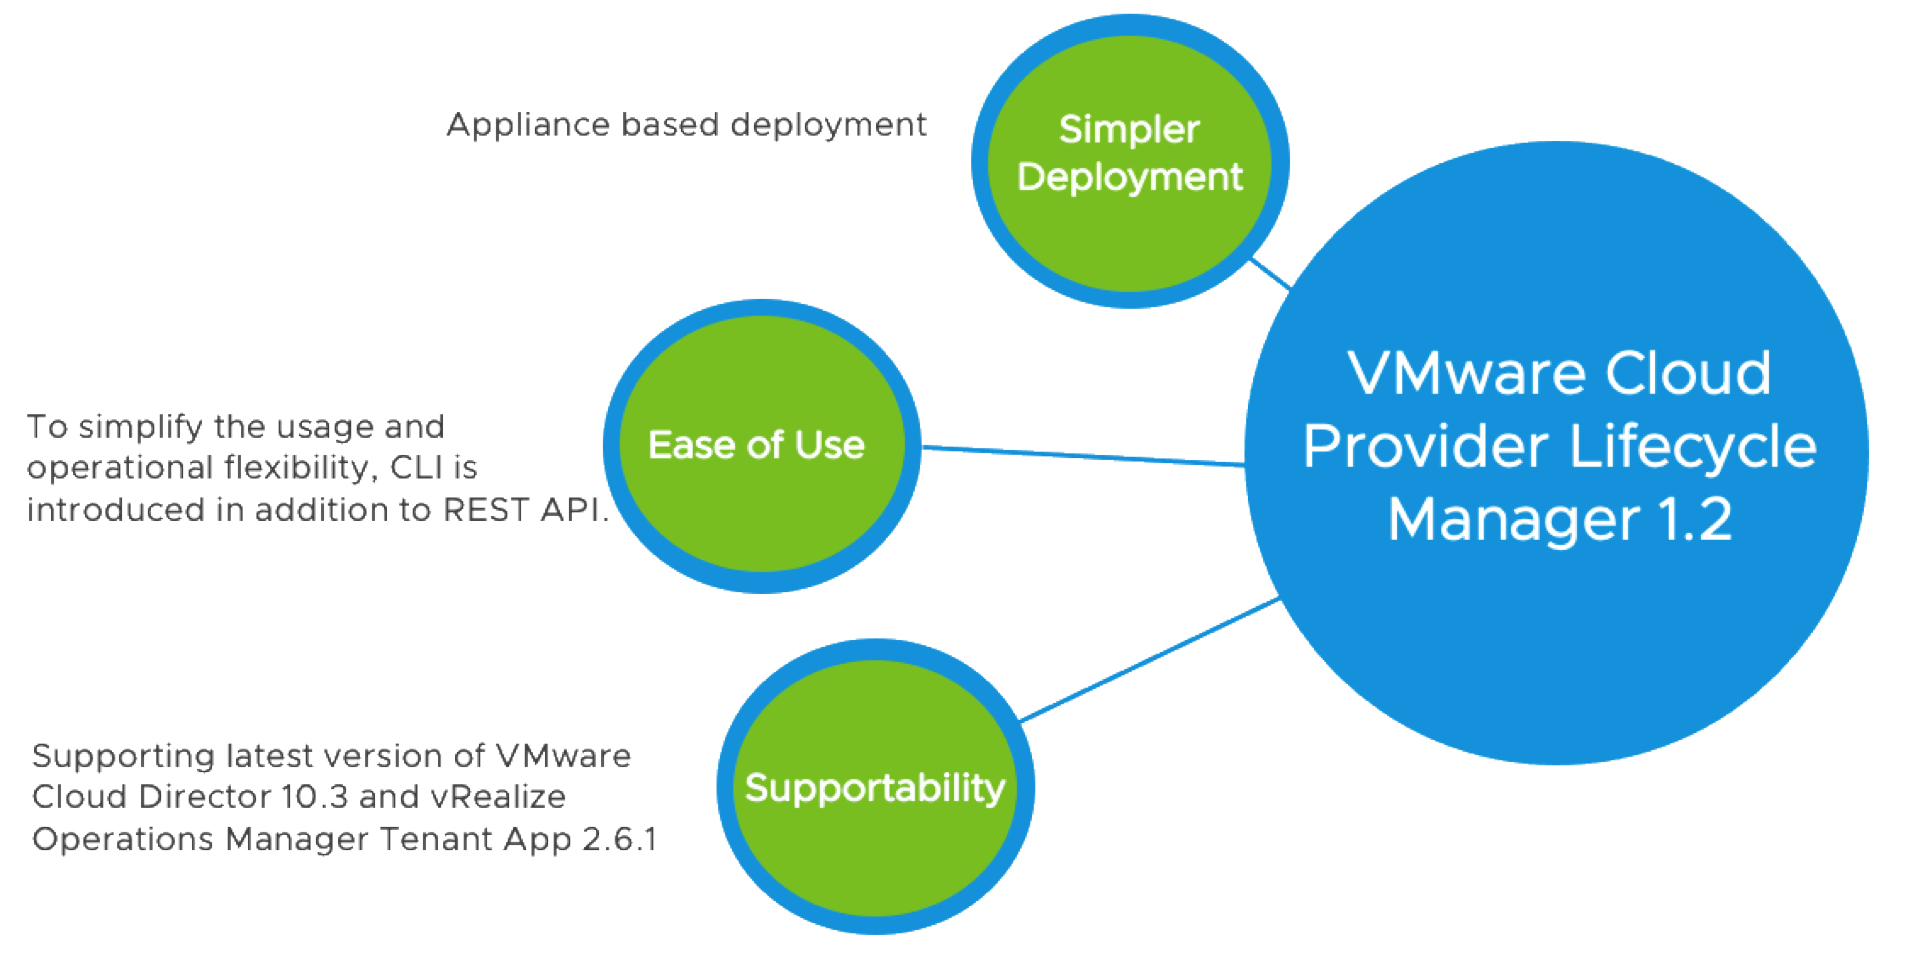
- Appliance based deployment
VMware Cloud Provider Lifecycle Manager 1.1 is available as a docker image, and one needs to set up a host environment (e.g., a PhotonOS based VM) to run the docker container.
Now VMware Cloud Provider Lifecycle Manager 1.2 is delivered as an appliance, which makes the deployment a lot simpler.
- CLI in addition to API for operational flexibility
Deployment, Upgrade and Configuration of the products is now available through CLI in addition to API. Please refer the documentation for more details.
- Supporting latest version of products
Below are the product versions which are supported
- VCD 10.1.x, 10.2.x and 10.3.x
- Usage Meter 4.3 and 4.4
- vROPS Tenant App 2.4, 2.5, 2.6 and 2.6.1
- RabbitMQ – Bitnami VM image 3.8.6 and 3.8.14
You can also check the compatibility matrix for more details.
‘Now that we have a fair understanding of what’s new with this version, let’s talk about deployment of the new appliance and upgrade to the latest version.
High level VMware Cloud Provider Lifecycle Manager 1.2 installation steps
- Download VMware Cloud Provider Lifecycle Manager 1.2 ova file from here
- Deploy the ova in vCenter
- You can use OVF tool for the deployment and below is the sample command:
ovftool –name=vcplcm-test-1 –X:logFile=/tmp/vcplcm-deploy.log –X:logLevel=info \
–noSSLVerify –acceptAllEulas –allowAllExtraConfig –diskMode=thin \
–datastore=sfo-m234-c0202-ds-abcd01 –network=1234-123-cl01-vdedd-pg-mgmt –powerOn \
–prop:varoot-password=’Root_pw1′ \
–prop:vcplcm-admin-password=’password’ \
–prop:vcplcm-api-port=9443 \
–prop:ntpserver=time.vmware.com \
–prop:hostname=vcplcm-test-1 \
–prop:netipaddress0=x.x.x.x \
–prop:netprefix0=24 \
–prop:netgateway0=x.x.x.x \
–prop:netdns0=x.x.x.x,x.x.x.x \
–prop:domainname=test.com \
–prop:searchdomains=test1.com,test2.com
–prop:ceip_enable=True \
–prop:nfs_mount=vsan-nfs.test.com:/vsanfs/cplcmrepo \
VMware-Cloud-Provider-Lifecycle-Manager-1.2.0-xxxxxx.ova \
vi://administrator@vsphere.local@vcenter.test.com/dc01/host/cluster01
- Download required product binaries (VCD, UM, vROPS TA, RMQ) (ova/upgrade files) from my.vmware.com or marketplace
- Setup product binary file structure in NFS share:
- There is an option to specify the external NFS share during the deployment of VMware Cloud Provider Lifecycle Manager. You can either specify the path there or can use the local repository in the VMware Cloud Provider Lifecycle Manager host.
- Using external NFS share is recommended as it won’t affect the internal storage of host while the product binaries are copied.
- You can also mount an existing shared directory post deployment even if nfs share is not specified in the corresponding ovf property during ova deployment, by editing the /etc/fstab file in vcplcm host.
VMware Cloud Provider Lifecycle Manager Version Update or reinstallation
Upgrade from version 1.1 to 1.2 is not available, (the docker image was upgraded by replacing the container anyway). Now the virtual appliance replaces the docker image with the version 1.2.
Subsequent upgrades will be available via in-place upgrade.
However, VMware Cloud Provider Lifecycle Manager does not keep any state information, thus replacing the appliance with the latest version should also be an option, especially in combination with an NFS share storing the product binaries outside of the appliance.
Product deployment using VMware Cloud Provider Lifecycle Manager 1.2
Below are the various ways by which the products like VCD, vROPS TA, Usage Meter & RabbitMQ can be deployed and managed.
- CLI Environment designer
The CLI provides all functionality of the REST API directly to the command line. This makes it easy to integrate the lifecycle management tasks to scripts and pipelines.
To get started, the CLI features an environment designer that helps define the initial environment payload for deploying a product.
The designer is started with the following command: vcplcm environment design
It then shows available options that are chosen by specifying the defined character.
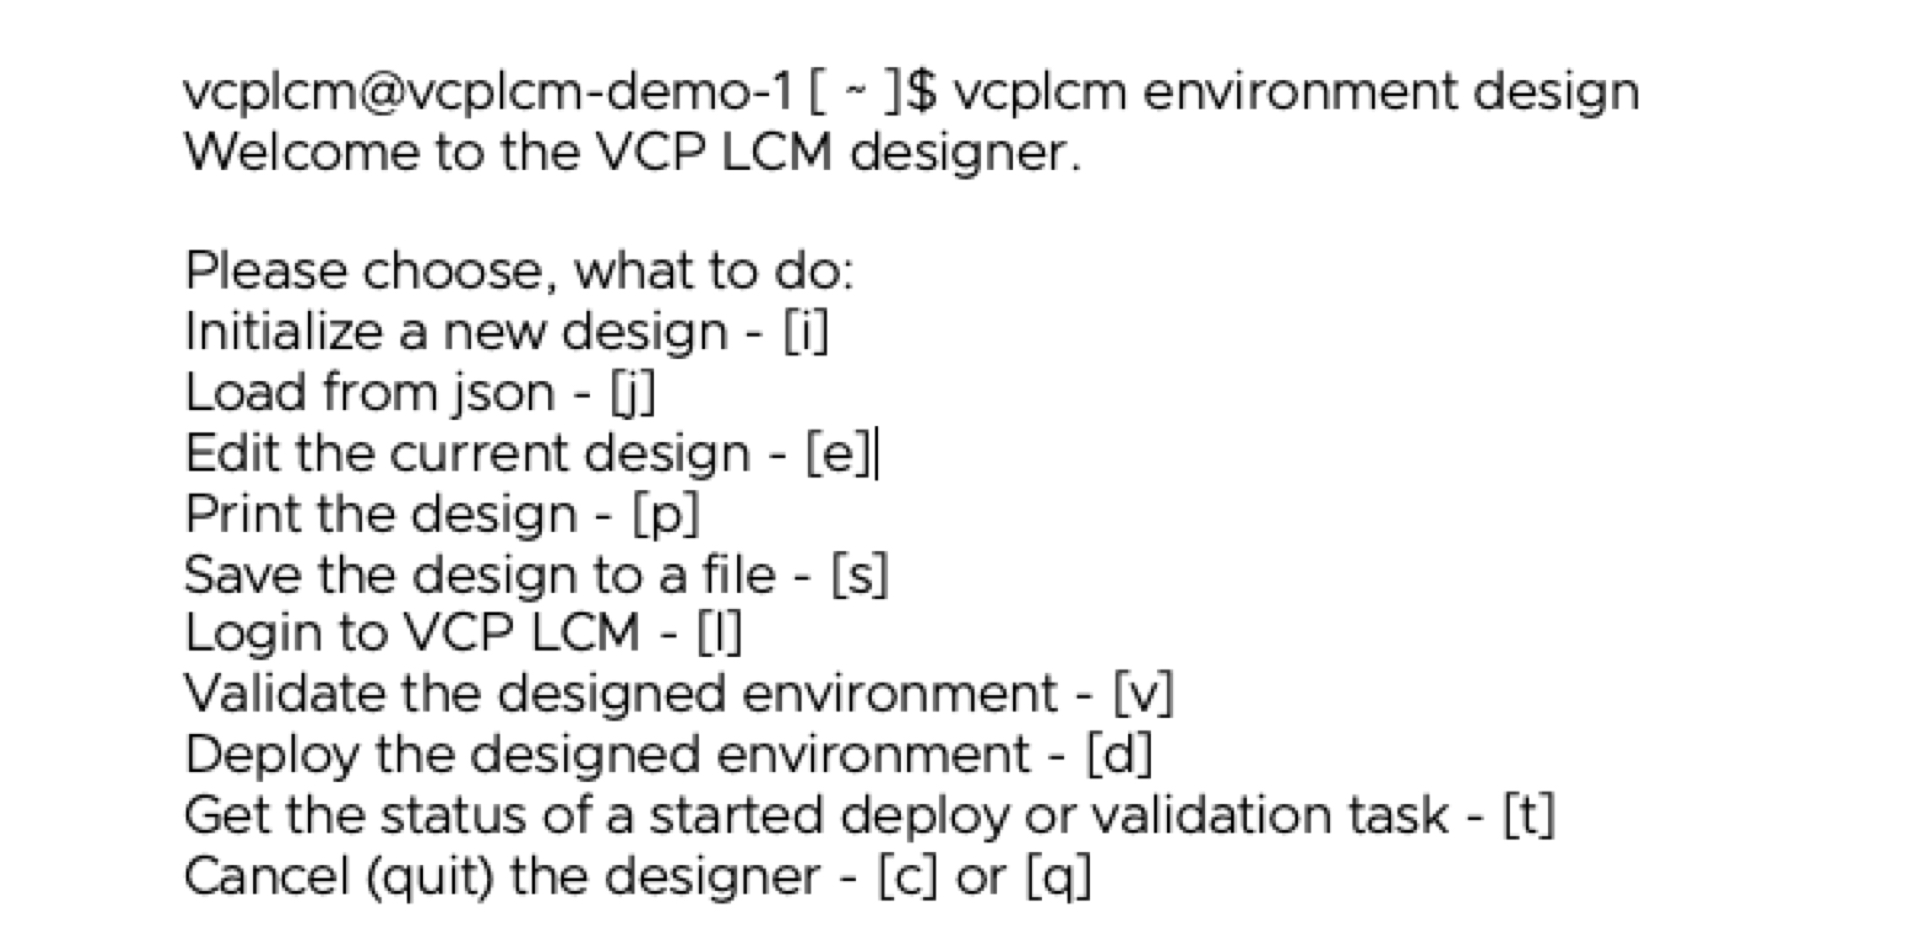
You can select Option [i] to create the design and at the end, can print it to view using option [p], edit it, using option [e], store it to redacted JSON file [s] and finally deploy using [d].
Please note, that the redacted JSON file will not contain sensitive information and thus cannot directly be used for later deployments. The sensitive data needs to be populated prior to deployment.
The VMware Cloud Provider Lifecycle Manager CLI is preinstalled on the deployed appliance and can be used directly after initial setup by logging in with user vcplcm.
It can also be downloaded from the appliance and installed on other machines using Python’s package manager pip (note that the package is only available on the appliance and cannot be installed directly from public pip repositories).
- Using existing JSON file for product deployment
You can also use an existing JSON file (not generated from CLI Environment designer) and can use the deploy command as mentioned below to initiate the deployment of the products.
# Deploy a VMware Cloud Provider Lifecycle Manager environment from json text
env_json='{“environmentName”:”myenv”, …}’
vcplcm environment create -i “$env_json” –action deploy [–ignore_validation <true|false>]
# Deploy a VMware Cloud Provider Lifecycle Manager environment from a json file
vcplcm environment create -i “file:/tmp/vcplcm_env.json” –action deploy [–ignore_validation <true|false>]
- Using Postman for API based deployment
Similar to the previous version of VMware Cloud Provider Lifecycle Manager, version 1.2 is accompanied by a Postman sample collection providing sample requests for all functionality available in VMware Cloud Provider Lifecycle Manager’s REST API.
You just need to provide the hostname, the username – vcplcm and the password which is specified during the deployment of the appliance, as a variable value in postman and perform the deployment and other operations. As previously, this is a sample collection, so feel free to modify the values and properties of the JSON bodies to fit your needs.
With the CLI option, not only deployment but the upgrade and the configuration of products have been optimised. If you want to know more about those options in details, please refer the VMware Cloud Provider Lifecycle Manager 1.2 documentation, release notes and VMworld Demo video.
You may also see some more advancements in the upcoming release, hence stay tuned for more updates and feel free to reach out to our slack channel #vmwarecloudproviders.slack.com for any queries.

