Easing Into the Cloud
The reasons organizations choose to use or migrate to AWS are plenty, ranging from flexibility to security to ease of use to reducing cost. A lot of these organizations have built their infrastructure using VMware products because VMware Cloud (VMC) on AWS bridges the gap between private and public clouds. It enables you to run applications across private, public and hybrid cloud environments based on VMware vSphere, with optimized access to AWS services.
One essential component of this infrastructure is the NSX Advanced Load Balancer (by Avi) – an enterprise grade Load Balancing solution including Local Load Balancing, GSLB, Application Security (including Web Application Firewall) and Ingress Services for your container-based environment.
Deploying a load balancer can be time consuming. Even though deploying the software-based Avi is already a lot easier and faster than others, for the uninitiated it still can be an intimidating time-consuming task.
We are proud to announce the availability of EasyAvi – a tool to reduce deployment from hours to minutes, EasyAvi enables you to automate installing Avi Controllers and its Service Engines in VMC environments with a few simple clicks.
VMware Cloud on AWS
Organizations can use VMware Cloud (VMC) on AWS for many use cases:
- VMC as an infrastructure island
- Using VMC for burst capacity
- Geographical expansion
- Data center evacuation
- Disaster recovery
Whatever the specific use case is, a load balancing and application security solution is essential.
How Avi Helps
To achieve this goal, Avi provides an enterprise grade load balancing solution including local load balancing, GSLB, application security (including Web Application Firewall) and ingress services for container-based environments.
Thanks to the unique architecture where control plane and data plane are separated, Avi can provide the following out of the Box:
- You manage only one load balancing fabric and not a fleet of individual load balancers or virtual appliances
- Analytics, real time metrics and logs simplify and reduce troubleshooting
- Built-in automation capabilities help you to simplify operation from the GUI/API:
- Scaling out/in – Avi supports active-active HA for a single virtual service
- Migrate – Avi let you migrate a virtual service from a service engine to another
- Secure your application using the same product (same API):
- Multiple SSL use case (including SSL offload)
- Modern Authentication (leveraging SAML and SSO)
- Web Application Firewall
EasyAvi Automates Day-0 Operations
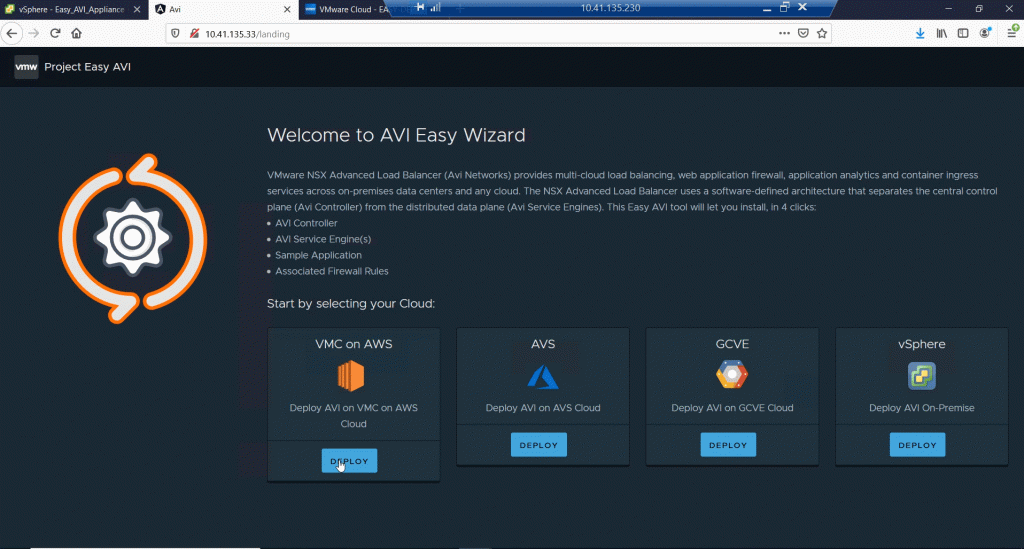
EasyAvi allows you to install the Avi load balancers (Avi Controller and Service Engines) in VMC environments in minutes:
- Initial Setup
- Select your VMC SDDC
- Spin up a standalone Avi Controller
- Create Avi Service Engine Group(s) and Service Engine(s)
- Configure a basic Application
- Download the Avi software
- Build Phase
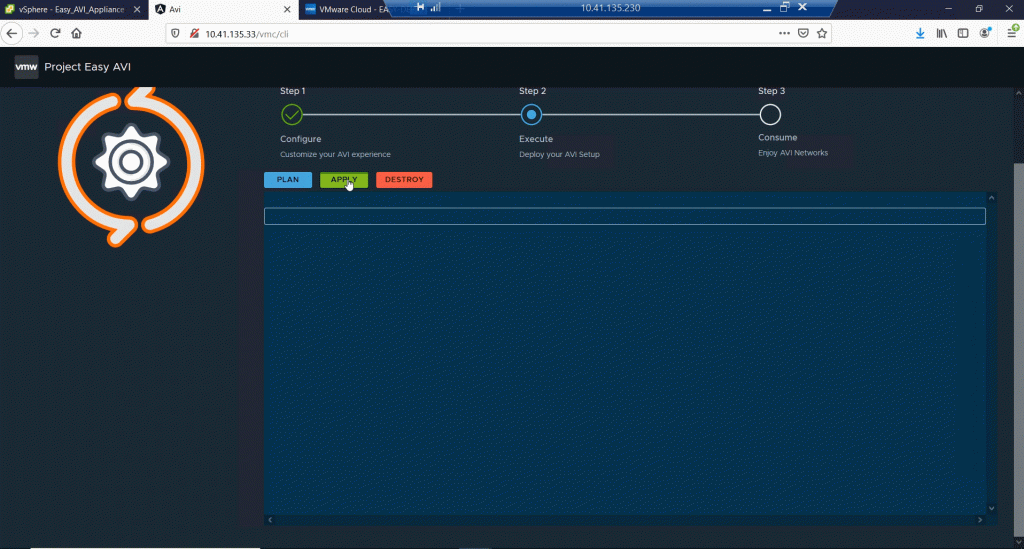
Enjoy the full Avi feature set
- Load balancing
- GSLB
- Application Security including web application firewall
- Ingress services
- Analytics, real time metrics, and logs
- Built-in automation
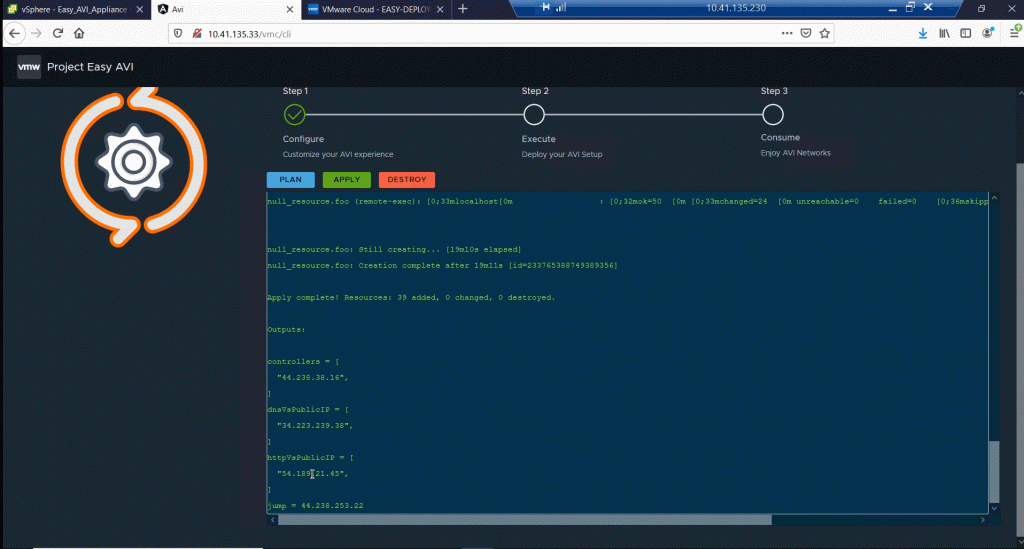
EasyAvi in depth
Where to find EasyAvi
Download the EasyAvi software at:
https://flings.vmware.com/easy-deploy-for-nsx-advanced-load-balancing
Where to deploy EasyAvi?
EasyAvi can be installed inside or outside your SDDC.
Prerequisites to install EasyAvi
The EasyAvi appliance requires the following to work:
- 2 vCPUs
- 4 GB of RAM
- 12 GB of Disk
Prerequisites to use EasyAvi
Wherever you decide to deploy the NSX Advanced Load Balancer, EasyAvi must have access to the VMC, vCenter and NSX-T API endpoints.
You will need internet access and a “MyVMware” account with right entitlements to download Avi software files.
Firewall Rules
While using the EasyAvi appliance, make sure you have the following firewall rules on your management gateway to allow access from EasyAvi appliance and the management network (selected in the form) to vCenter over HTTPS – for simplicity, the picture below shows “Any” as a source:

VMC Networking
Up to three segments need to be created in VMC for:
- Management network (which will contain the Avi controller, a jump server (which will be destroyed at the end of the deployment), SE(s))
- VIP network (will contain SE(s))
- Backend network (will contain backend servers if applications have been enabled)
You can use the same segment for the three networks or a dedicated segment for each network.
Your segments require a DHCP pool configured. The number of free IP depends on the number of SE(s) that you plan to deploy:
- You need 2 IPs in the management network excluding the number of SE(s) – In addition, each SE mandates a single free IP in this network
- You need the same amount of IP as the amount of SE in the VIP Network
- You need 2 IPs in the backend network if you have selected the basic application to be deployed
How to Use EasyAvi – Step by Step
Credentials
- VMC token to access the VMC API
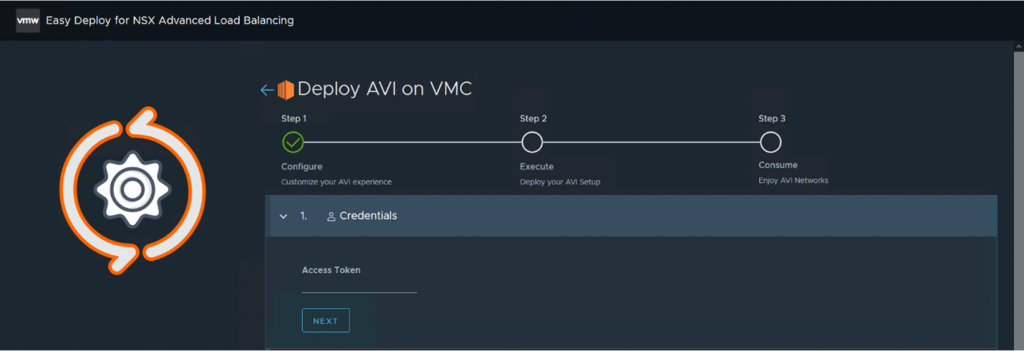
- Select your organization
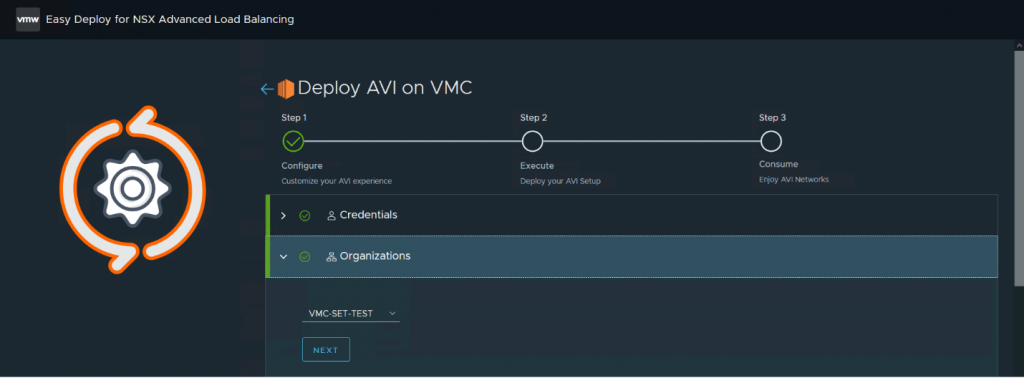
- Select your SDDC
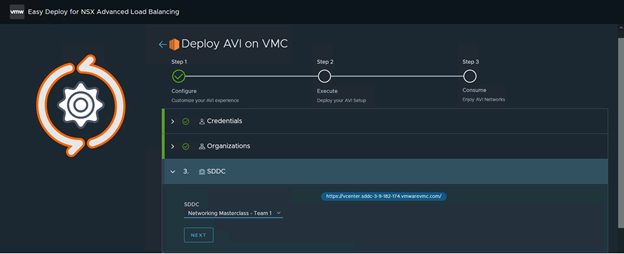
Avi General Settings
The Avi controller will be deployed in a standalone way (one VM).
The form allows you to:
- Select the VM sizing characteristics of the Avi controller
- Optionally assign a public IP to the Avi controller along with NAT policy and a FW rule to allow HTTPS access from Internet

Service Engine Group(s) and Service Engine(s)
Service engine(s) Group(s) will be created/configured according to your inputs. Service engine(s) will be assigned automatically to the service engine group.
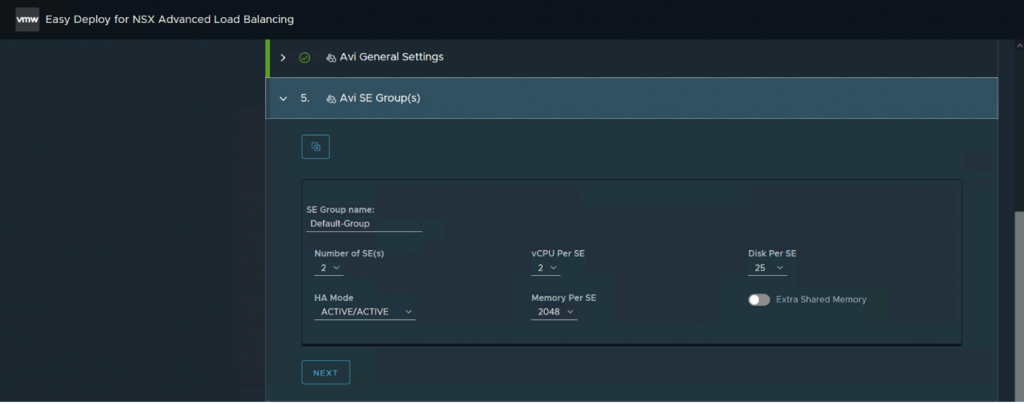
Each service engine will be connected to the management network and to the VIP network. They will be configured with a default route in the VIP network to reach your backend servers.
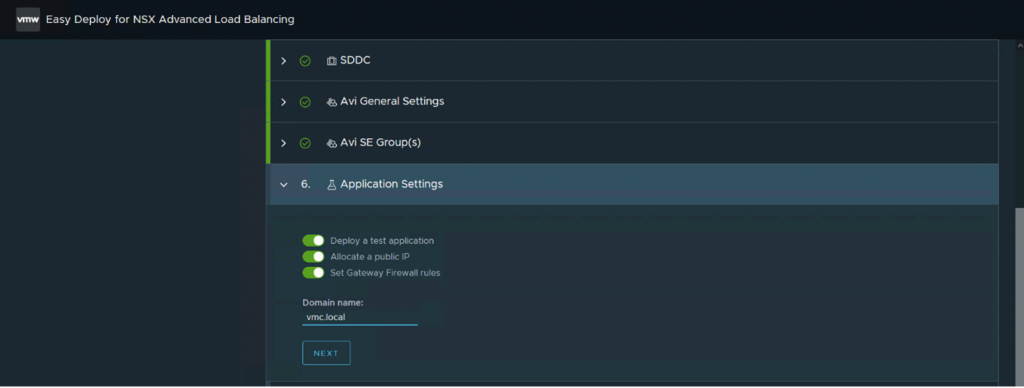
Application Settings
The form allows you to:
- Enable an application
- Optionally assign a public IP to the VS associated with this application
- Optionally create FW rule to allow HTTP/HTTPS access from Internet
Networking
The form allows you to select:
- The management network
- The VIP network along with the pool for the VIP – Make sure that the pool for the VIP does not conflict with your DHCP pool settings in the NSX-T config.
- The backend network
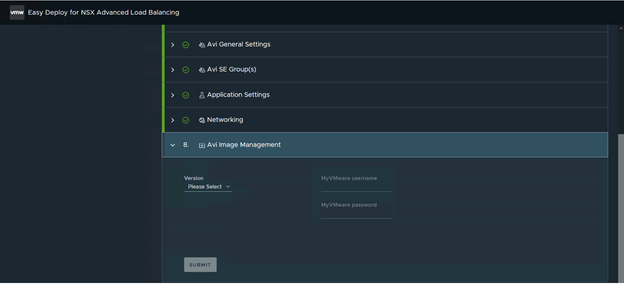
Avi Image Management
- Select the Avi version
- myVMware.com username to download the Avi software
- myVMware.com password to download the Avi software
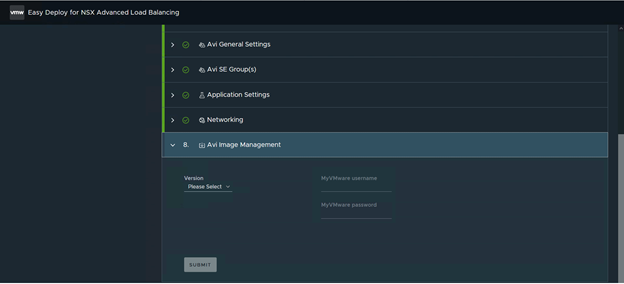
What EasyAvi builds for you
- Avi Controller
- Service Engine(s)
- Avi DNS profile (if basic application was enabled)
- Avi IPAM profile (including the network VIP that you have entered along with a pool for the VIP)
- No Access Cloud with Avi DNS and Avi IPAM profiles.
If basic application is enabled
- Two backend servers with the following VM sizing characteristics:
- 2 vCPUs
- 4 GB of RAM
- 20 GB of Disk
- A basic application responding on port 80
- An advanced application responding on port 8080
- An HTTP/HTTPS Virtual Service:
- Optionally with a public IP assigned to the Virtual Service along with a NAT policy and a FW rule to allow HTTP and HTTPS access from Internet
- Content switching policy will be enabled:
- https://my-vs-ip/ will redirect to the basic application
- https://my-vs-ip/avi will redirect to the advanced application
- A DNS Virtual Service:
- A public IP assigned to the Virtual Service along with a NAT policy and a FW rule to allow DNS access from Internet
- This DNS Virtual Service will be registered as a DNS VS in the system
Destroy Procedure
Connect to EasyAvi appliance using ssh and apply the following commands:
cd ~/flingAviVmc/easyAvi/vmc/$sddc_id/baseline
/bin/bash destroy.sh
We hope that with the EasyAvi tool, you now have powerful Day-0 automation combined with the automation and self-service capabilities available directly from the Avi platform. Choosing and deploying the right load balancer for your VMC on AWS environment should match the simplicity of the cloud.


