Login to the Amazon AWS Console (https://aws.amazon.com/console) using your AWS user name and password. It is straightforward to set one of these users up on AWS (requires a credit card number)
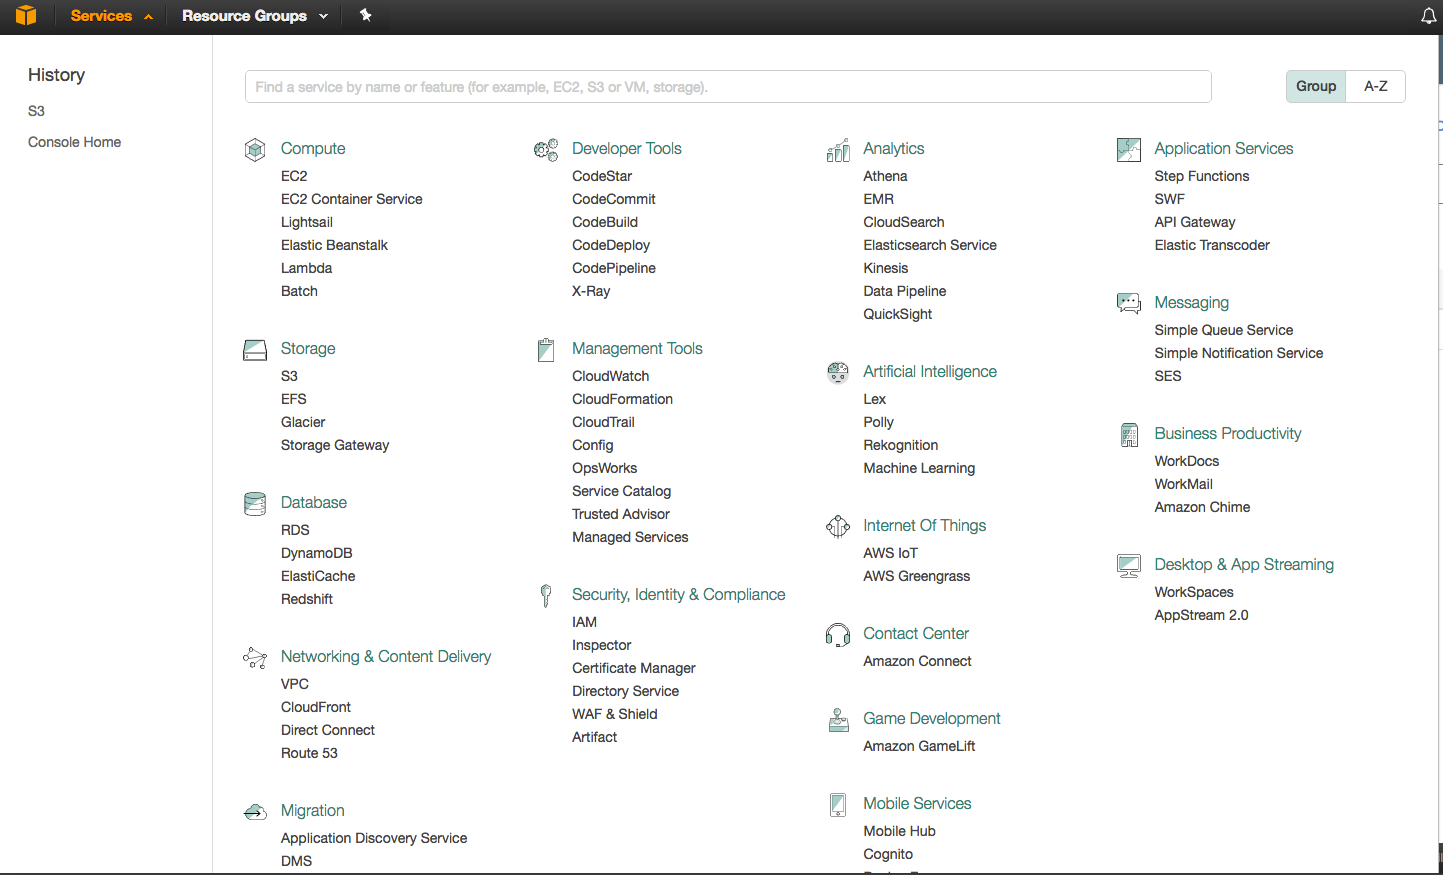
Choose “Services -> Storage-> S3”
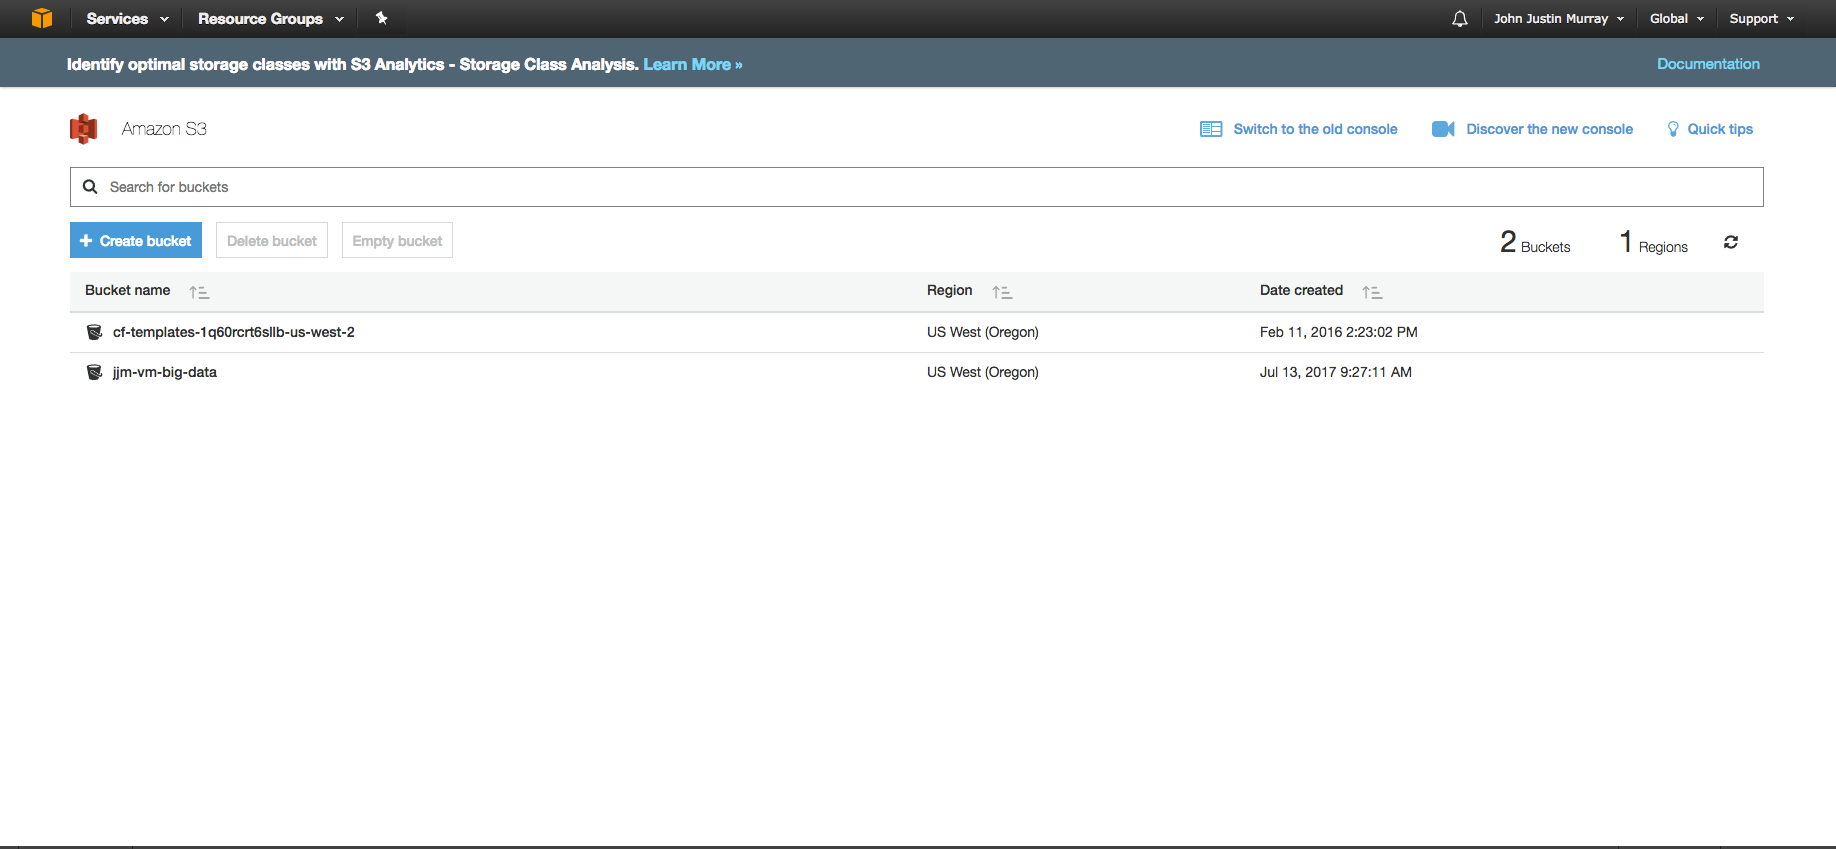
Choose “Create bucket” (You can think of this a folder for your files)
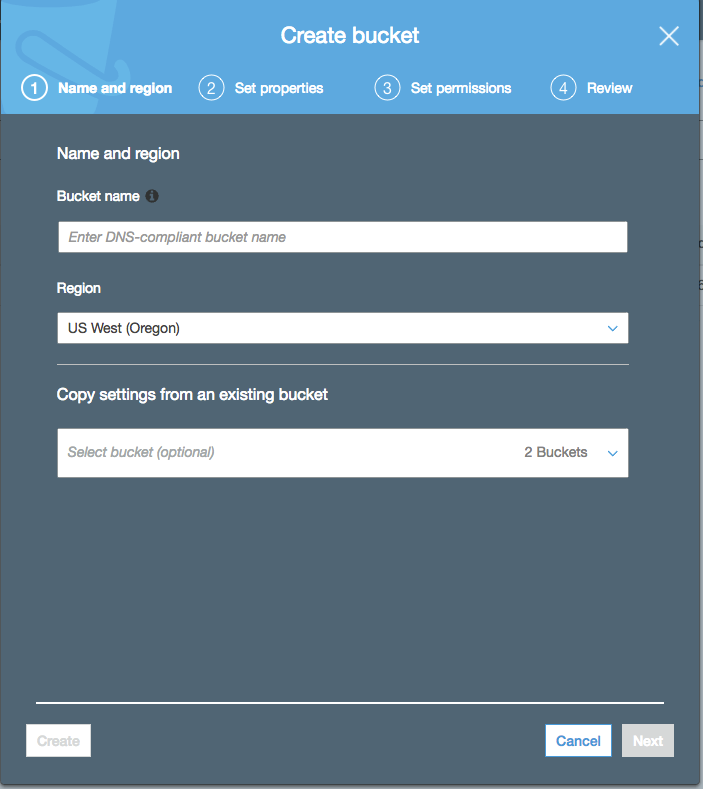
Give your new bucket a name (lowercase only)
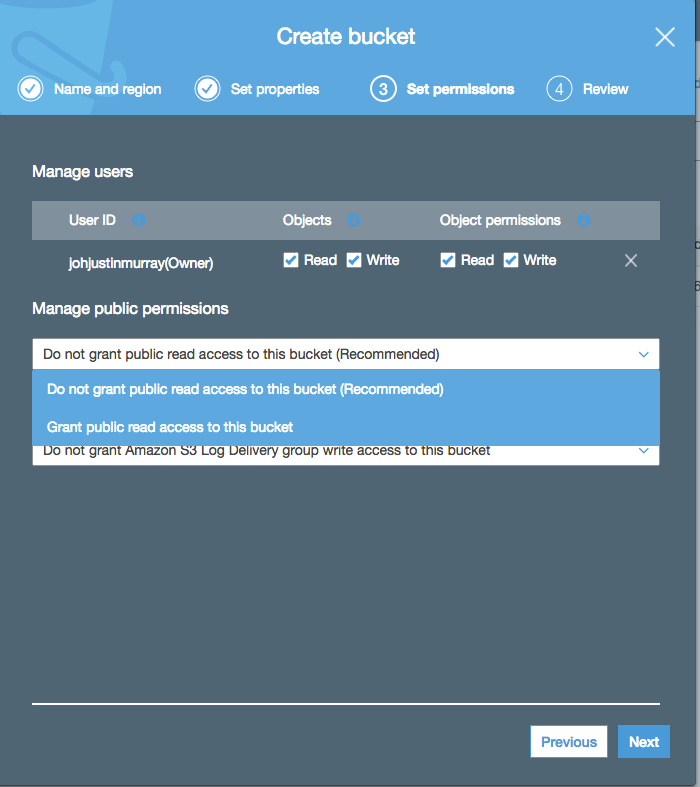
Choose “Next” to give the bucket some permissions and other properties (optional)
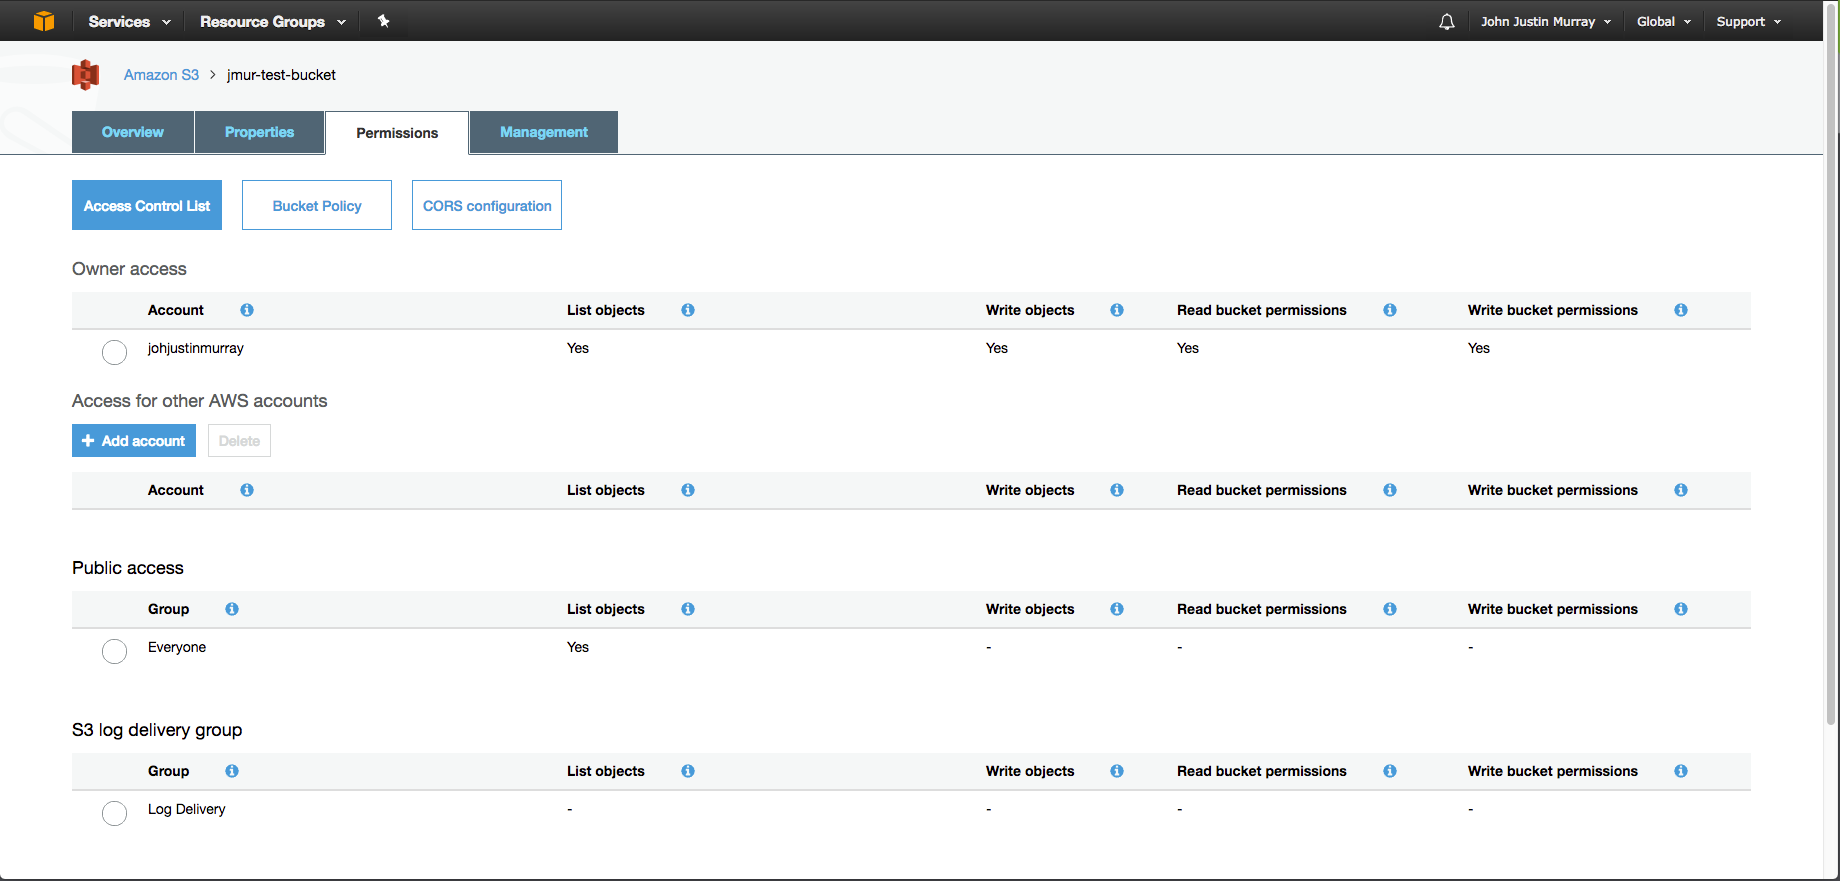
So that your OVF and its dependent files in this new bucket will be accessible to vCenter, and provided there is nothing confidential contained in the files, then make this bucket publicly readable. You can do this for individual files later if you choose to.
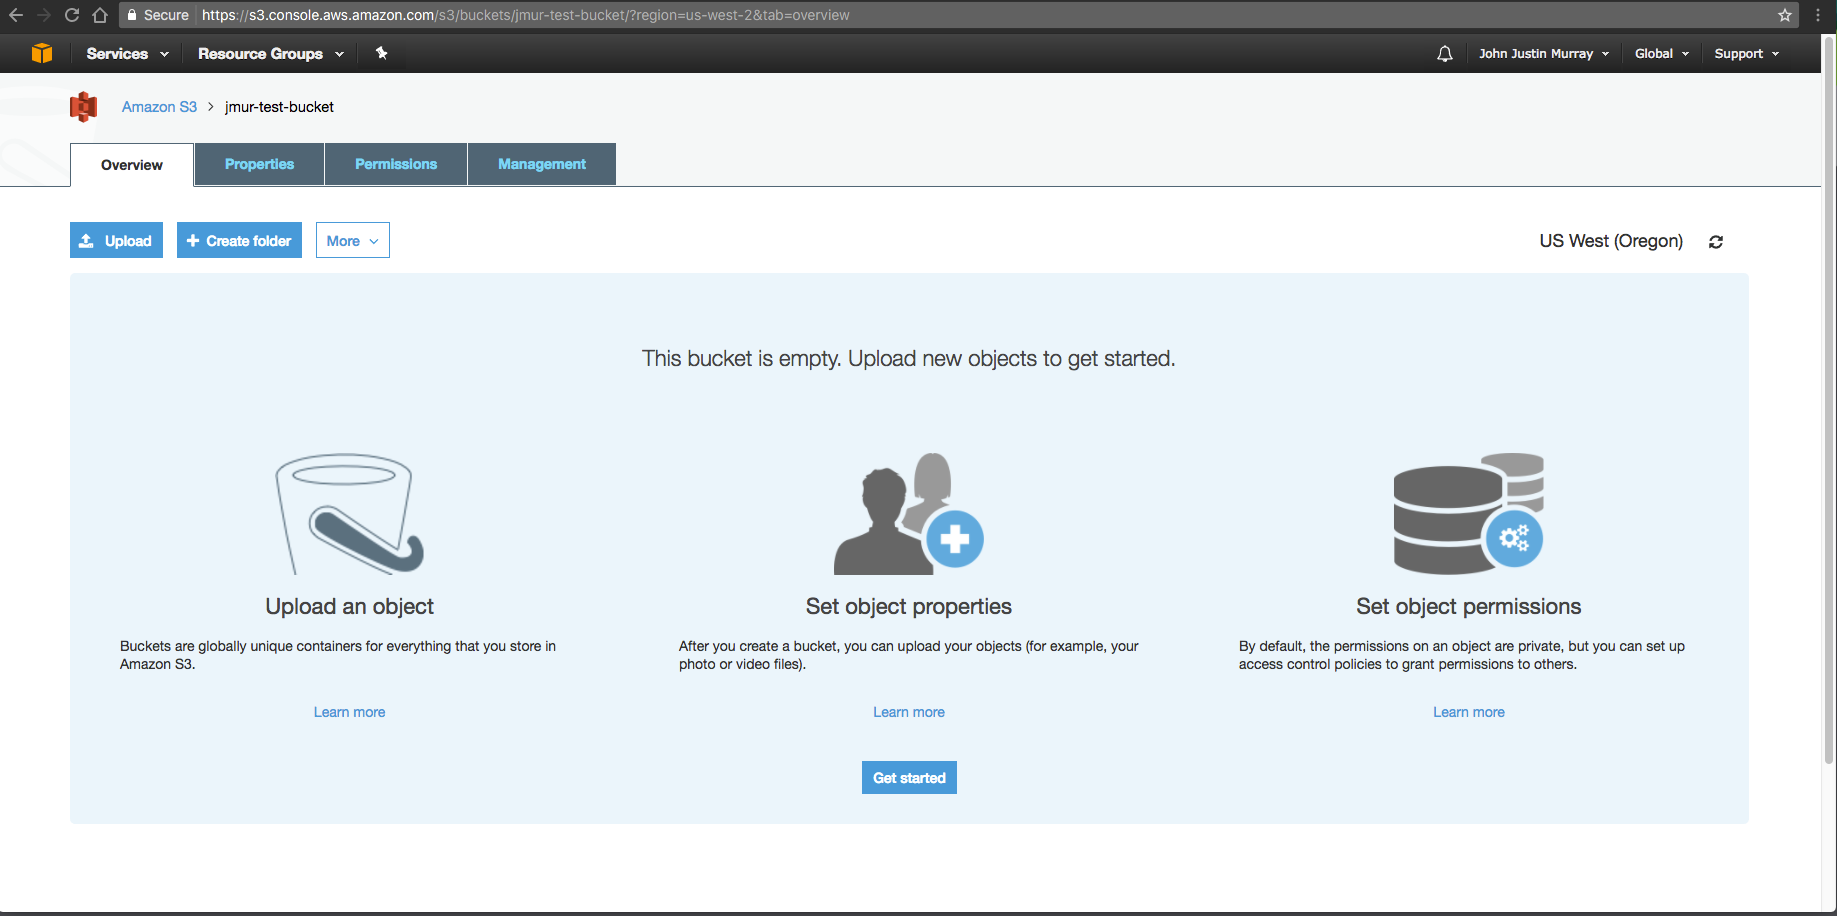
Click “Next” until you see your empty bucket has been correctly created.
Use the Permissions tab in the screen shown above to ensure that you have correctly set up that factor on your bucket. You can do the same with individual files.
Use the “Upload” button on the bucket screen to transfer files into your new S3 bucket
Once you have the OVF file uploaded to your S3 bucket, along with the appropriate set of virtual machine-related files (.vmdk, .iso, .mf) that are referred to from your OVF file, ensure that those are all publicly viewable too.
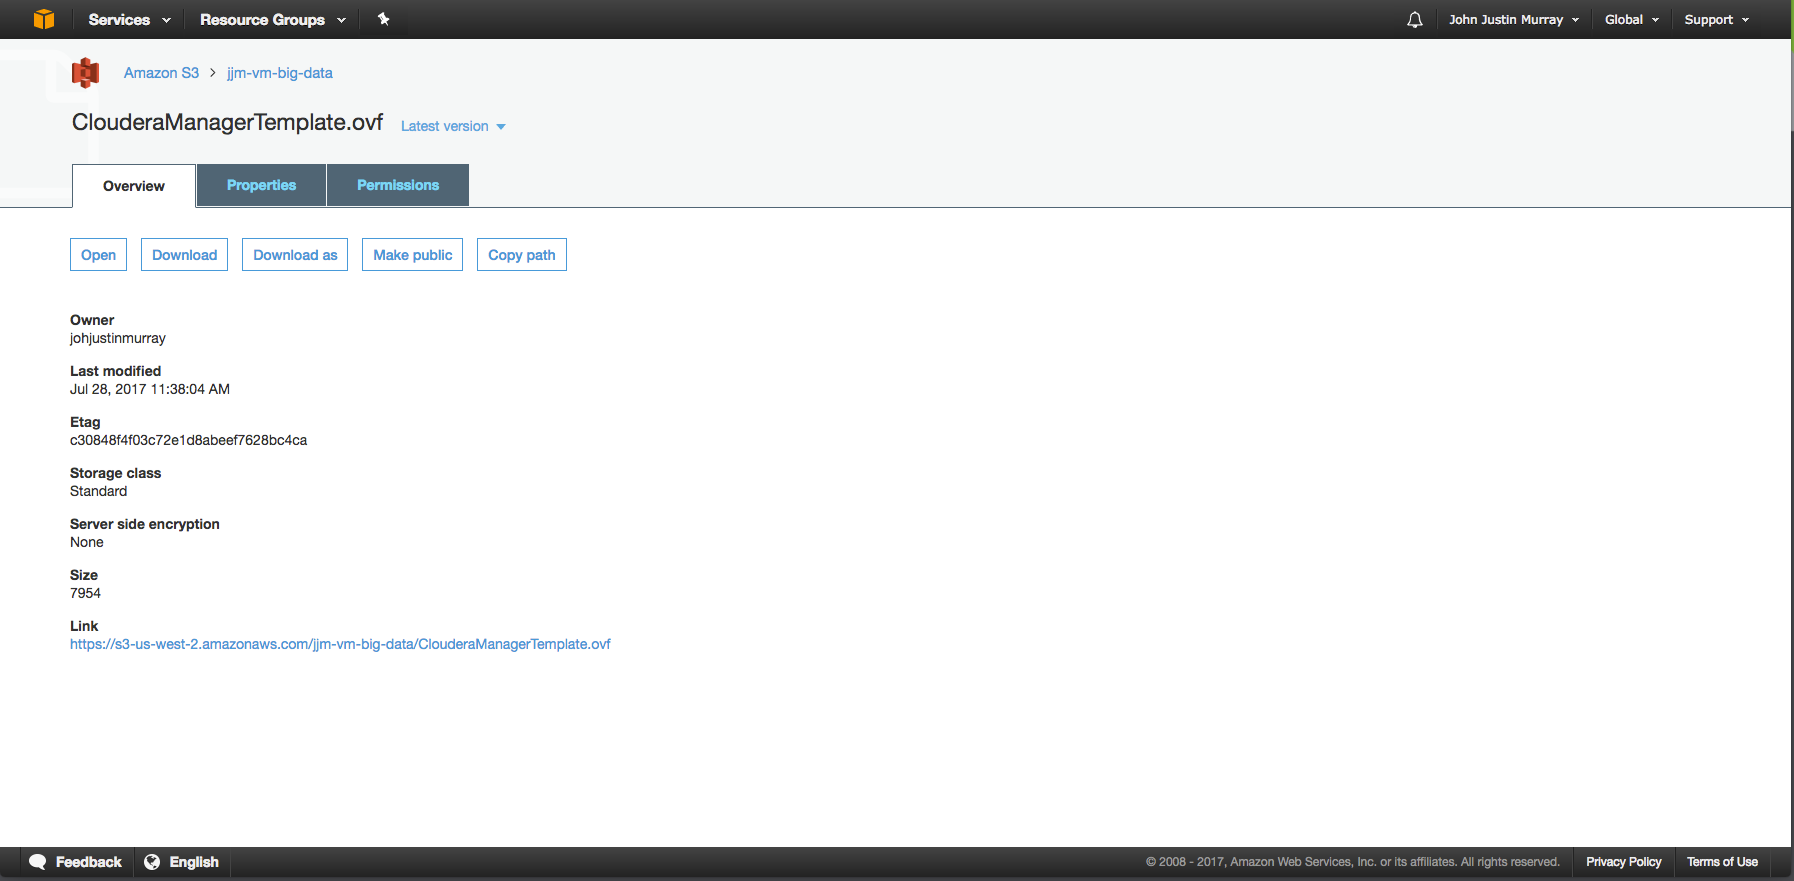
Note the URL at the bottom of the AWS screen when you click on your uploaded OVF file. Use “Right mouse button -> Copy Link Address” on this URL to store it in your clipboard or a text window for safekeeping.
vCenter OVF Import
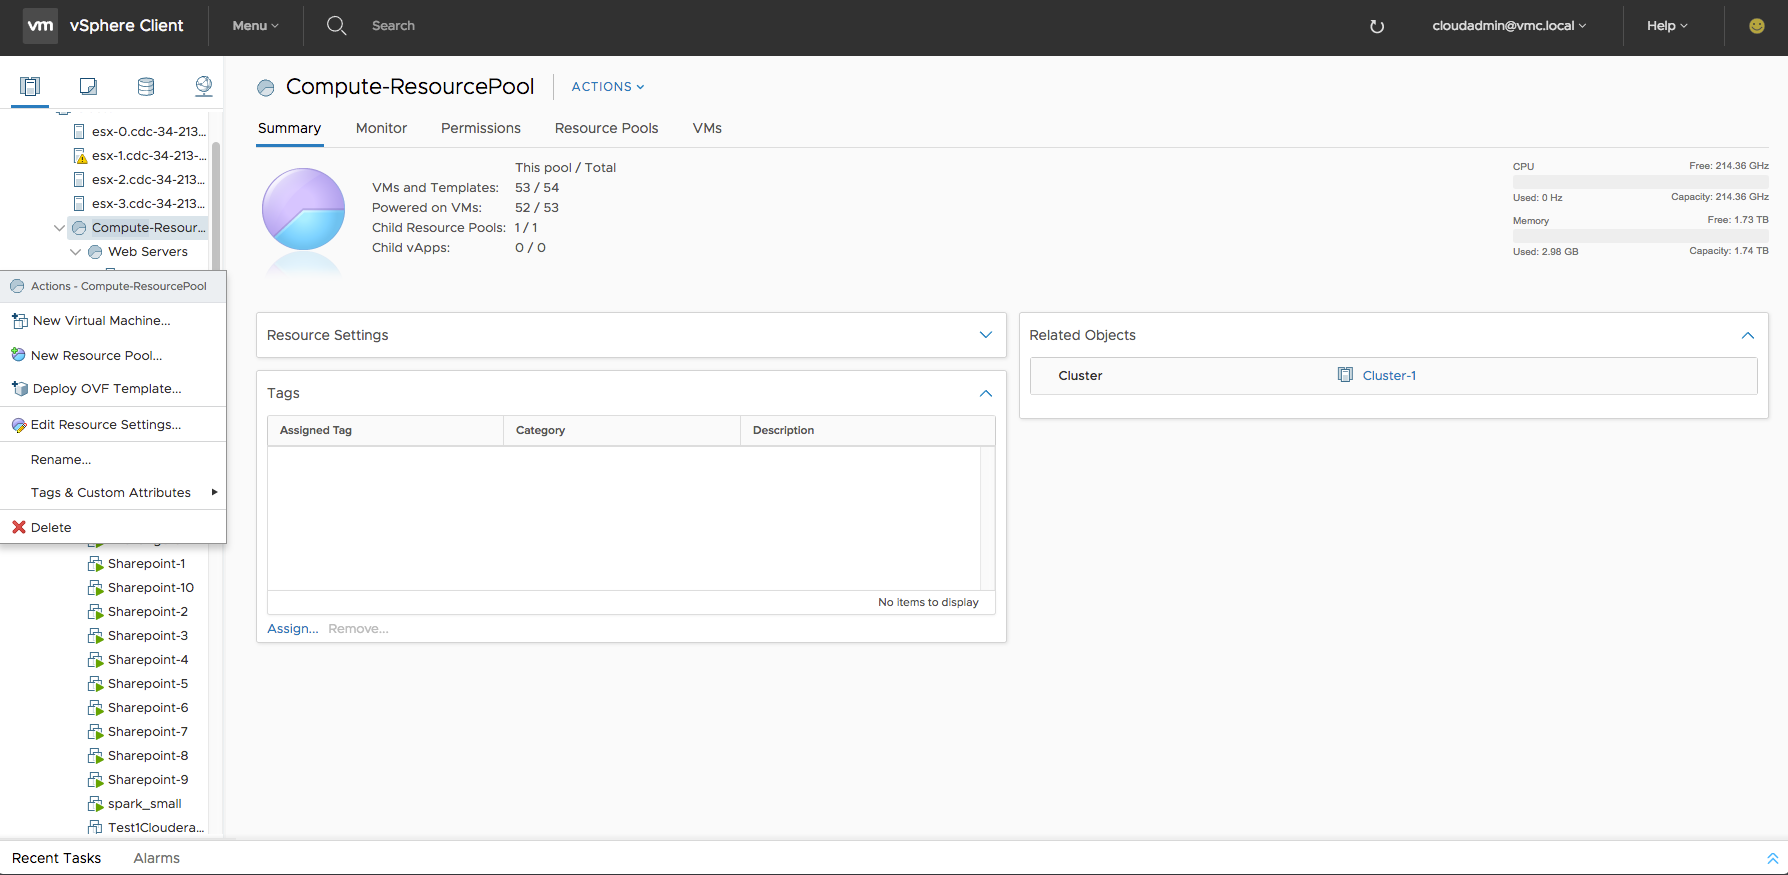
Log in to your vCenter Server for your SDDC that is hosted on VMware Cloud on AWS. In the vCenter User Interface, choose a target resource pool or other container into which you want to deploy your OVF-described virtual machine.
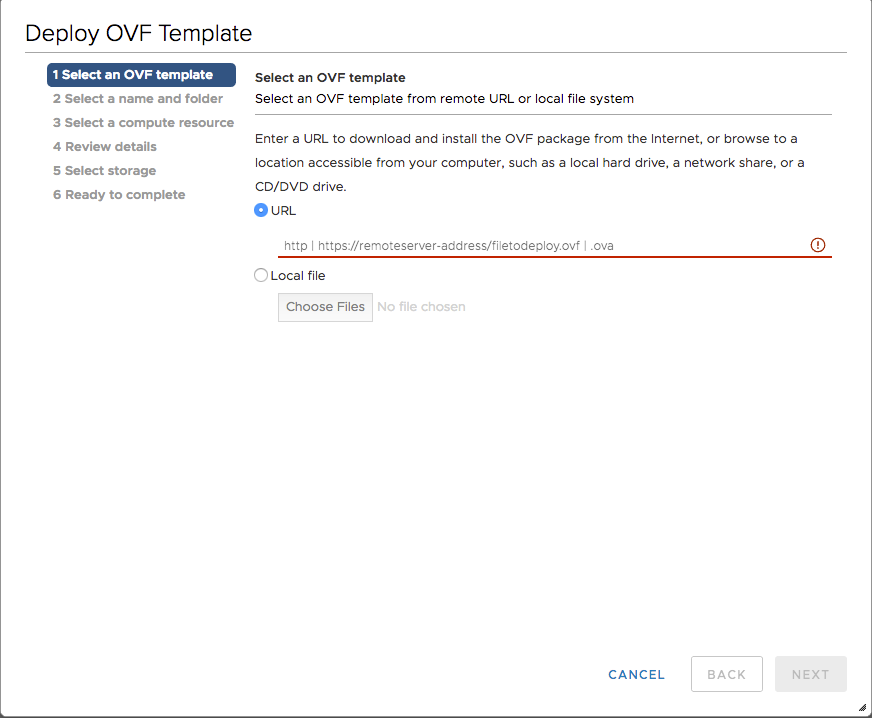
Choose “Deploy OVF Template” from the Dropdown shown above
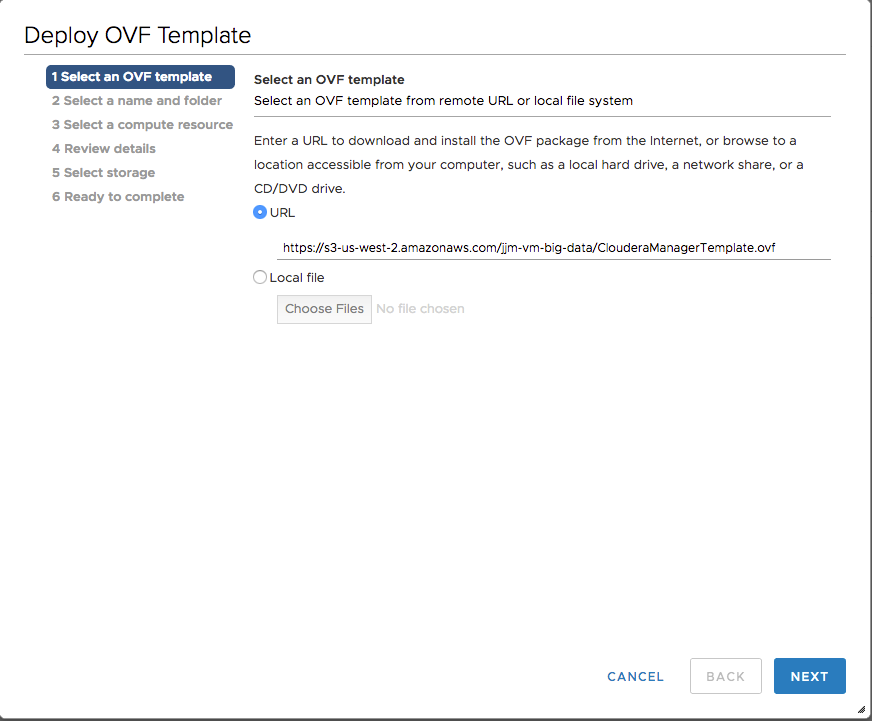
Paste the URL string that you copied earlier within your AWS S3 bucket that represents your OVF file
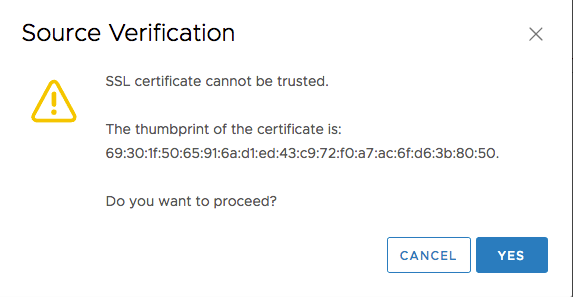
Click Next and hit “Yes” when the Source Verification window appears
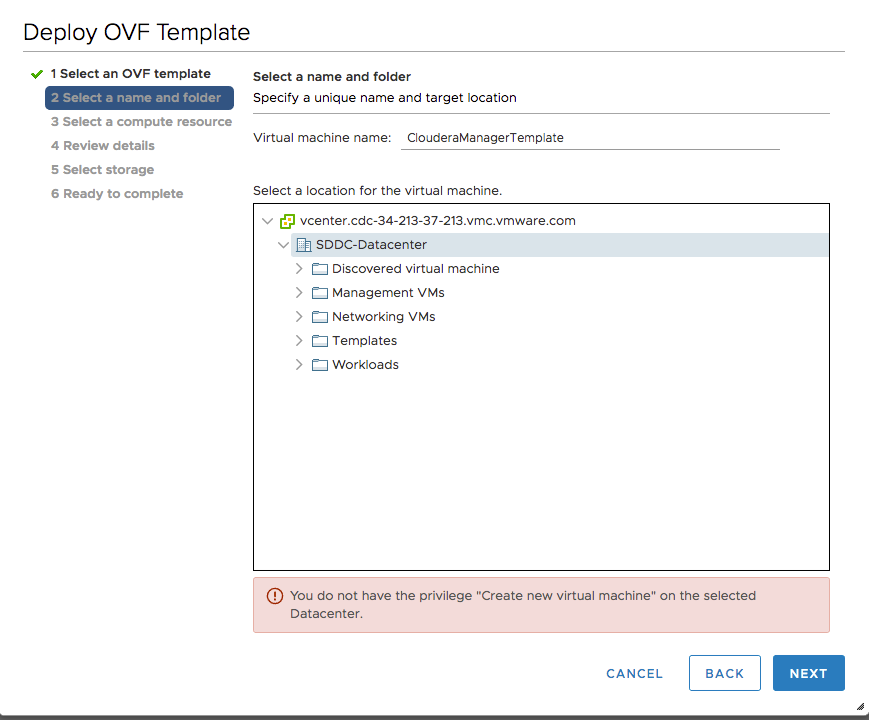
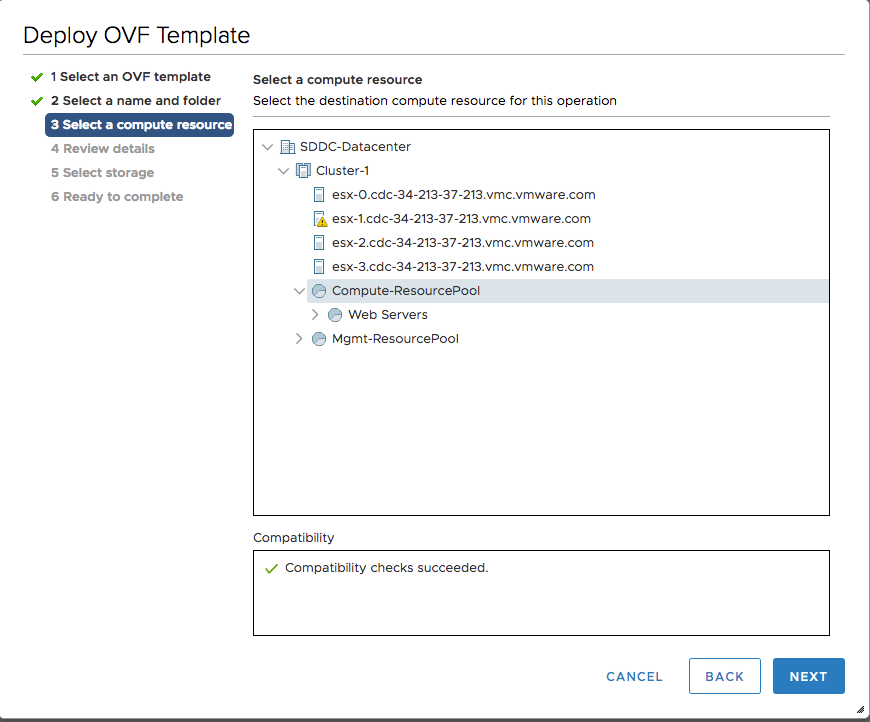
You will likely not have permission to deploy directly to your “SDDC-Datacenter”. Choose the “Workloads” folder under that area and hit “Next”.
Choose the “Compute-ResourcePool” and NOT the “Mgmt-ResourcePool” as the one you want to deploy your VM into.
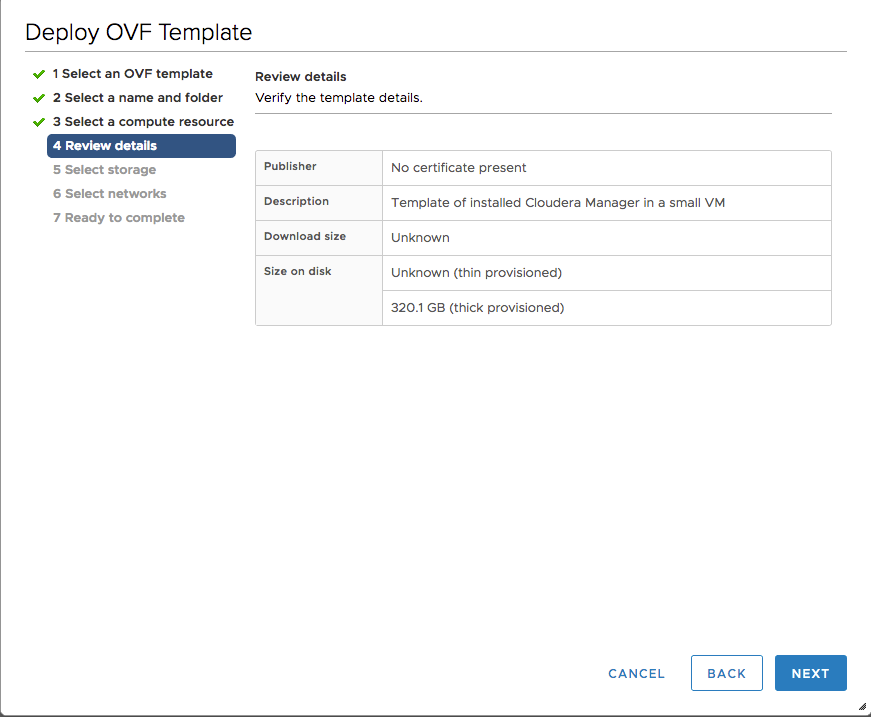
The OVF file will go through a validation step here. If any of your dependent files are not assigned “Public read” permissions there may be some warnings here.
Review the details and hit “Next” – your OVF and its various contents should now be deployed on VMware Cloud on AWS.
This may take a few minutes depending on the size of your data/disks.
You can then either clone your VM to a template or to new VMs within VMware Cloud on AWS and power your VMs up!
Learn more about how to build the hybrid solution you need, the way you need it with VMware Cloud on AWS.
For more information on how to access an S3 bucket using an S3 Endpoint, please consult the VMware Cloud on AWS Getting Started Guide at https://docs.vmware.com/en/VMware-Cloud-on-AWS/services/com.vmware.vmc-aws.getting-started/GUID-B501FA3C-EAF9-4005-AC72-155C3F592281.html
Discover more from VMware Cloud Foundation (VCF) Blog
Subscribe to get the latest posts sent to your email.


