

VMware vSphere 7 will reach End of General Support on October 2, 2025. If you are currently running vSphere 7, you will need to transition to vSphere 8 to continue receiving product support, security patches and updates. This will also position you to move to VCF 9 when you’re ready.
There are two options for upgrading: you can directly upgrade vSphere 7 to vSphere 8, or you can import vSphere 7 to VMware Cloud Foundation (VCF) version 5.2 and upgrade your workload domain to version 8 from VMware SDDC Manager. The path you choose is dependent on several factors such as business readiness, external product support, and environmental configuration. Here’s how VCF Professional Services approaches each of these options.
Option 1: Using vSphere Lifecycle Manager to Upgrade
This option is the traditional way of updating vSphere. You can use either vSphere Lifecycle Manager Images or vSphere Lifecycle Manager Baselines to perform the upgrade task.
The pros of this option are:
- Existing operational processes are used to perform the upgrade.
- Limited change to the environment is required in most cases.
- No additional appliances are required.
On the other hand, the cons of this option are:
- You must manually perform the validations and intercompatibility checks between components. This can be time consuming.
- All environments are separately designed entities. This can often mean added delays due to inconsistent architecture choices between VMware vCenter instances.
Below are the steps involved with using vSphere Lifecycle Manager to upgrade an environment. Many organizations also have a staging environment that they can perform any upgrade on before executing it in production. The steps are typically the same regardless of the environment.
Step 1: Planning, prechecking and preparing the environment upgrade. In this step you will need to manually validate the environment to ensure that the versions are supported. Start by reviewing the release notes for vSphere 8, as well as validating any integrations from other VMware or third-party applications for their support of vSphere 8. You will also need to understand and prepare for the vCenter upgrade, as well as understand and prepare for changes involved with upgrading VMware ESX hosts.
Step 2: Download binaries (if needed). After you have everything planned, you need to download the binaries. This can be done from the Broadcom Support website.
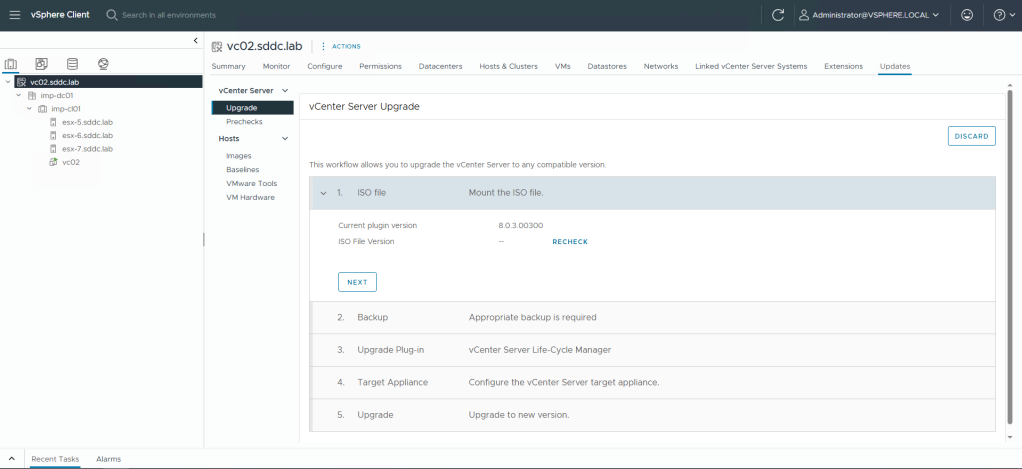
Step 3: Upgrade vCenter. vCenter can be upgraded in several different ways based on customer requirements. There are three main ways that upgrades can be performed:
- Reduced Downtime Upgrade – This deploys a secondary appliance, and then transfers the configuration data to the new appliance. This is the upgrade method we typically use as there is less downtime than with the other upgrade methods.
- vCenter Installer – The vCenter installer has an upgrade option which will allow for an upgrade to be executed from the installer. This deploys a new appliance (similar to a reduced downtime upgrade) for the upgrade.

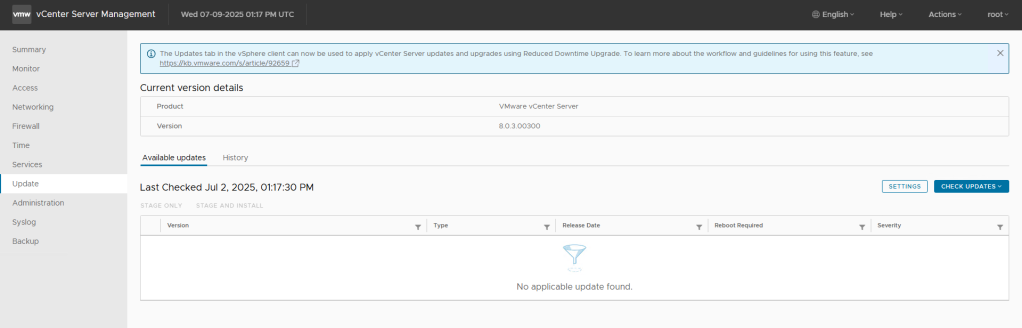
- Virtual Appliance Management Interface Upgrade – This allows for patch binaries to be downloaded and installed right from the virtual appliance management interface of vCenter. This is only used for when we are patching the existing version, and will not patch between major versions.
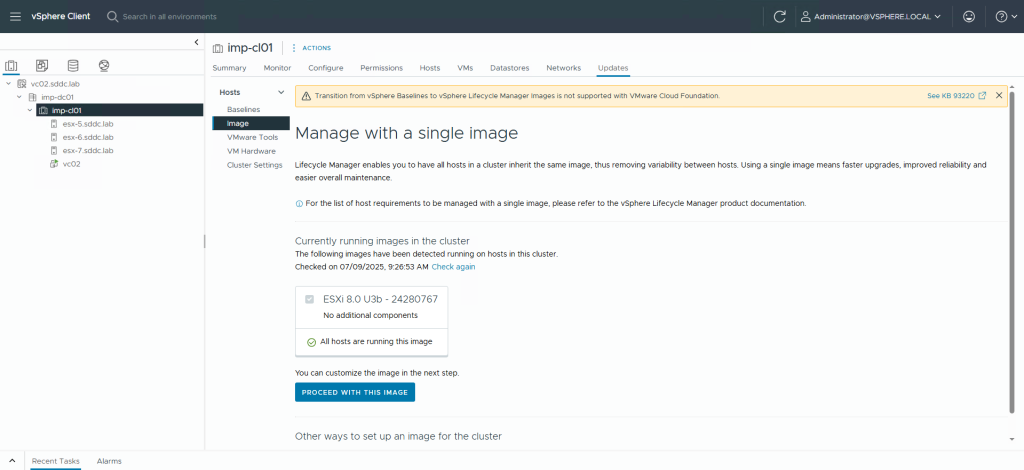
Step 4: Upgrade ESX hosts. Once vCenter is upgraded, your ESX hosts can then be upgraded. There are various ways to upgrade ESX hosts. The two main ways we upgrade hosts are:
- Use vSphere Lifecycle Manager – This is our preferred method as it allows for entire clusters to be updated together versus performing updates on each host individually. This is the easiest way of performing upgrades.
- Scripted Upgrades – We recommend this method when there is a large number of hosts to be upgraded. There are various ways of scripting the upgrade which allows flexibility for your specific operational procedures and scripting languages.
Step 5: Upgrade VMware vSAN. After the hosts are upgraded, the next step is to upgrade the vSAN disk format. This step is recommended, but optional, as performing the vSAN upgrade allows you to take advantage of new features.
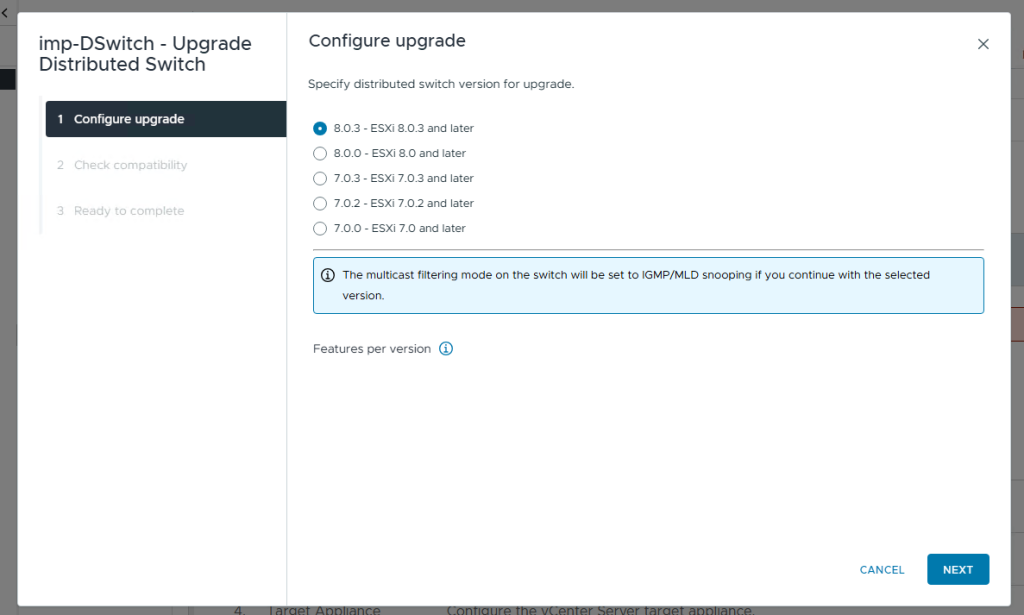
Step 6: Upgrade vSphere Distributed Switch versions. The vSphere Distributed Switch version can be upgraded. This is also optional. We recommend performing this upgrade as well so that you can take advantage of new features.
Step 7: Post-Upgrade Validation. This step is dependent on the environment, and could require additional upgrades of other components to support the new version. In addition, you will need to add new licensing and perform any other validation that may be required.
This completes the upgrade of a vSphere environment using vSphere Lifecycle Manager.
Option 2: Import vSphere to a VCF Instance and Upgrade via SDDC Manager
The second option is to import vSphere to VCF 5.2 and then to perform the upgrade from the SDDC Manager console. This option requires that you already have a VCF instance deployed.
The pros of importing vSphere to VCF and upgrading with SDDC Manager are:
- VCF includes a comprehensive prerequisite check engine which simplifies upgrades.
- When you import vSphere to VCF, your environment is checked and remediations are identified, so that your converged environment is consistent with a standard VCF architecture.
- You can take advantage of other VCF features such as the built-in certificate and password management functions. These features can speed up the upgrade process as passwords and certificates can be easily changed.
The cons are:
- Additional appliances are required. VCF represents a full software-defined data center, and components such as VMware NSX are required. This means that additional resources must be allocated.
- As mentioned in the “pros” section above, converging may require remediations that will need to be performed to comply with the VCF standard architecture.
Here are the steps for importing vSphere into VCF and upgrading from SDDC Manager.
Step 1: Import your existing vSphere environment into a VCF configuration. Use the VCF Import Tool to check prerequisites and perform the import to an existing VCF instance. I discuss this process in great depth in my blog and on my on-demand webinar.
Step 2: Upgrade vSphere from SDDC Manager. Once SDDC Manager is available in an environment, you now can use it to perform the following functions:
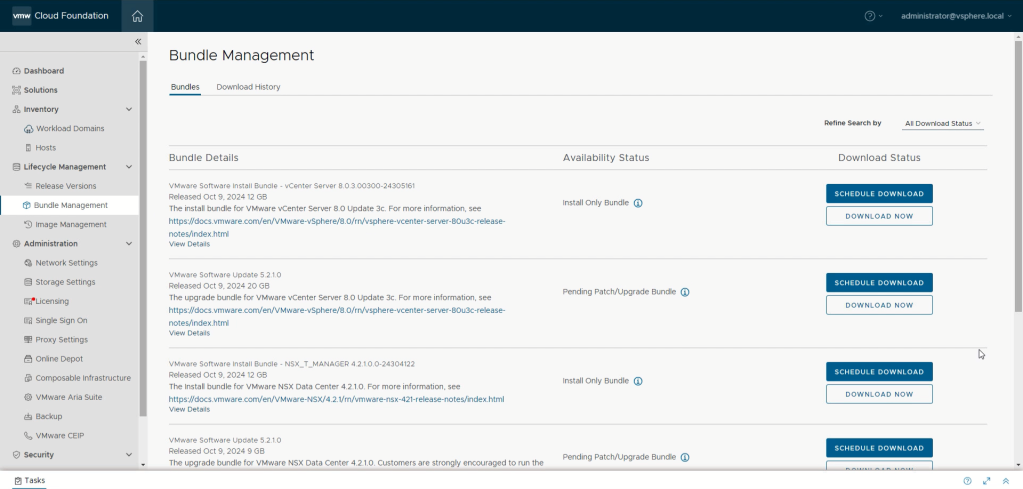
- Download Update Bundles – Download the appropriate bundles to be able to perform the upgrade.
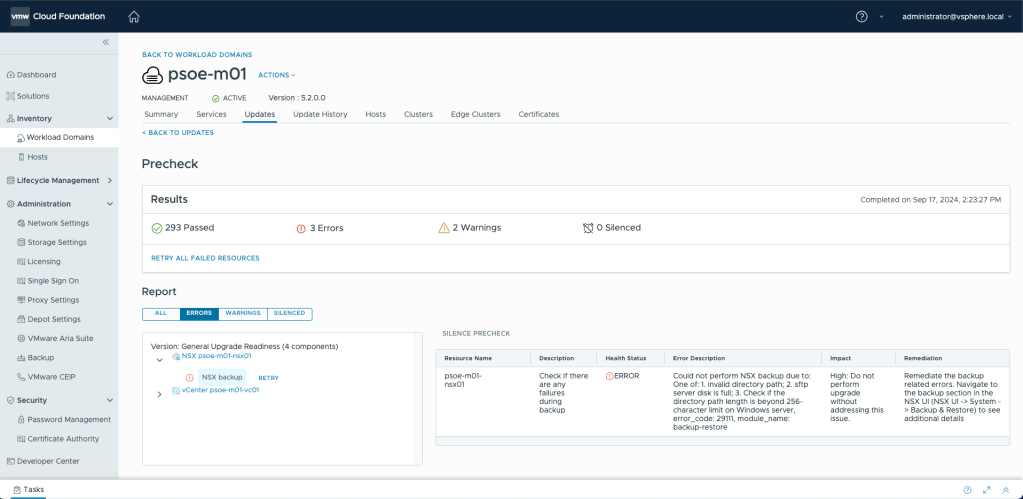
- Perform Prechecks – Perform the prerequisite checking to identify problems that could cause upgrades to fail. If any issues or problems are detected, they will need to be remediated before you can proceed.
- Upgrade Components – Upgrade each of the vSphere components (vCenter and ESX). SDDC Manager will use the appropriate sequencing to ensure compatibility with the VCF 5.2 Bill of Materials.

Step 3: Post-Upgrade Validation. This step is dependent on the environment, and could require additional upgrades of other components to support the new version. In addition, you will need to add new licensing and perform any other validation that may be required.
As mentioned, this option requires that you have an existing VCF instance. If you do not, you could alternatively upgrade at least one vCenter 7 instance to vSphere 8 using Option 1 above, and then convert that vSphere instance to VCF. Details for the convert process are outlined in my blog and my on-demand webinar.
Need help?
Upgrading vSphere requires careful planning and execution to minimize potential disruptions. If you need assistance with your upgrade, VCF Professional Services can help you plan, prepare, perform, and validate your upgrade. You can also take advantage of our vSphere 8 courses to grow your skills and improve operational efficiency.
Discover more from VMware Cloud Foundation (VCF) Blog
Subscribe to get the latest posts sent to your email.


