

Along with the release of VMware Cloud Foundation 4.3.1, we are excited to announce the general availability of the Site Protection & Disaster Recovery for VMware Cloud Foundation Validated Solution. The solution documentation, intro, and other associated collateral can be found on the Cloud Platform Tech Zone here.
The Site Protection & Disaster Recovery for VMware Cloud Foundation Solution includes everything you need to deliver an end-to-end validated way to protect your mission-critical applications. You get a set of documentation that is tailored to the solution that includes: design objectives, a detailed design (including not just design decisions, but the justifications & implications of those decisions), detailed implementation steps with PowerShell alternatives for some steps to speed up time-to-deploy, operational guidance on how to use the solution once its deployed, solution interoperability between it and other Validated Solutions, an appendix containing all the solution design decisions in one easy place for review, and finally, a set of frequently asked questions that will be updated for each release.
Disaster recovery is a huge topic for everyone lately. Everything from power outages to natural disasters, to ransomware and beyond can be classed as a disaster. Regardless of the type of disaster you must be prepared. To adequately plan for business continuity in the event of a disaster you must protect your mission-critical applications so that they may be recovered. In a VMware Cloud Foundation environment, cloud operations and automation services are delivered by vRealize Lifecycle Manager, vRealize Operations Manager & vRealize Automation, with authentication services delivered by Workspace ONE Access.
To provide DR for our mission-critical apps we leverage 2 VMware Cloud Foundation instances with NSX-T Federation between them. The primary Cloud Foundation instance runs the active NSX-T global manager and the recovery Cloud Foundation instance runs the standby NSX-T global manager. All load balancing services are served from the protected instance, with a standby load balancer (disconnected from the recovery site NSX Tier-1 until required, to avoid IP conflicts) in the recovery instance. Using our included PowerShell cmdlets you can quickly create and configure the standby load balancer to mimic your active load balancer, saving you a ton of manual UI clicks.
In the (hopefully never) event of the need to failover the cloud management applications, you can easily bring the standby load balancer online to enable networking services for the failed over applications.
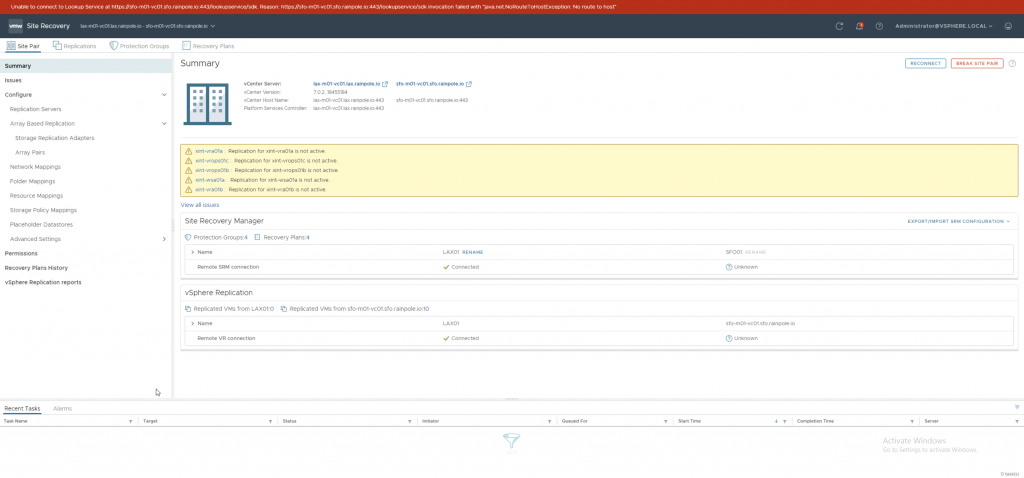
Using Site Recovery Manager (SRM) you can run planned migrations or disaster recovery migrations. With a single set of SRM recovery plans, regardless of the scenario, you will be guided through the recovery process. In this post, I will cover what happens in the event of a disaster.
When a disaster occurs on the protected site (once the panic subsides) there are a series of tasks you need to perform to bring those mission-critical apps back online.
First? Fix the network! Log into the passive NSX Global Manager (GM) on the recovery site and promote the GM to Active. (Note: This can take about 10-15 mins)

To cover the case of an accidental “Force Active” click..we’ve built in the “Are you absolutely sure this is what you want to do?” prompt!

Once the promotion operation completes our standby NSX GM is now active, and can be used to manage the surviving site NSX Local Manager (LM)

Once the recovery site GM is active we need to ensure that the cross-instance NSX Tier-1 is now directing the egress traffic via the recovery site. To do this we must update the locations on the Tier-1. Navigate to GM> Tier-1 gateways > Cross Instance Tier-1. Under Locations, make the recovery location Primary.

The next step is to ensure we have an active load balancer running in the recovery site to ensure our protected applications come up correctly. To do this log into what is now our active GM, select the recovery site NSX Local Manager (LM), and navigate to Networking > Load Balancing. Edit the load balancer and attach it to the recovery site standalone Tier-1.

At this point, we are ready to run our SRM recovery plans. The recommended order for running the recovery plans (assuming you have all of the protected components listed below) is as follows. This ensures lifecycle & authentication services (vRSLCM & WSA) are up before the applications that depend on them (vROPS & vRA)
- vRSLCM – WSA – RP
- Intelligent Operations Management RP
- Private Cloud Automation RP
I’m not going to go through each recovery plan in detail here as they are well-documented in the Site Protection and Disaster Recovery Validated Solution.
The main thing in a DR situation is, DO NOT PANIC. And what is the best way to getting to a place where you DO NOT PANIC? Test your DR plans!
Trust the plan…test the plan…relax…you have a plan!

Hopefully, this post was useful. If you want to learn more please reach out in the comments…if you’re attending VMworld and would like to learn more or ask some questions, please drop into our Meet The Experts session on Thursday.

Take a look at Ken’s post on the Planning & Preparation Workbook for this validated solution for more details.
Discover more from VMware Cloud Foundation (VCF) Blog
Subscribe to get the latest posts sent to your email.


